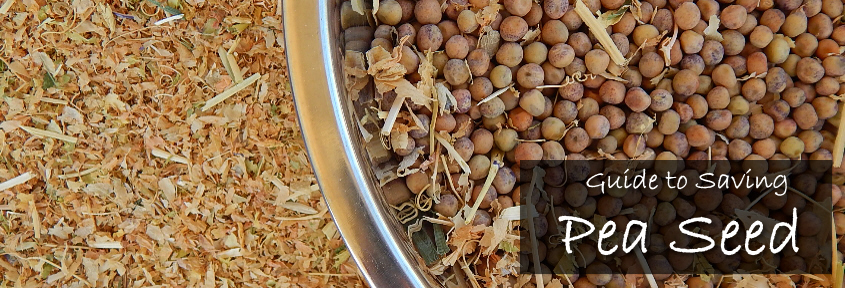
Guide to Saving Pea Seed
FAMILY: Fabaceae
POLLINATION: Self-Pollinating
SEED LIFE: 3-4 years
ISOLATION DISTANCE: 3 metres
If you're new to seed saving, peas (and beans) are perhaps the easiest to begin with!
They are easy to grow, self-pollinating, easy to clean, process and handle. The only difficult part is keeping the kids away and not eating them yourself so that they can be left to mature! (they're just too yummy!!!!)
For the home gardener, it may simply be a case of leaving the pods which were not harvested at the right time on the bush and then collecting when they have turned brown.
WHEN TO HARVEST
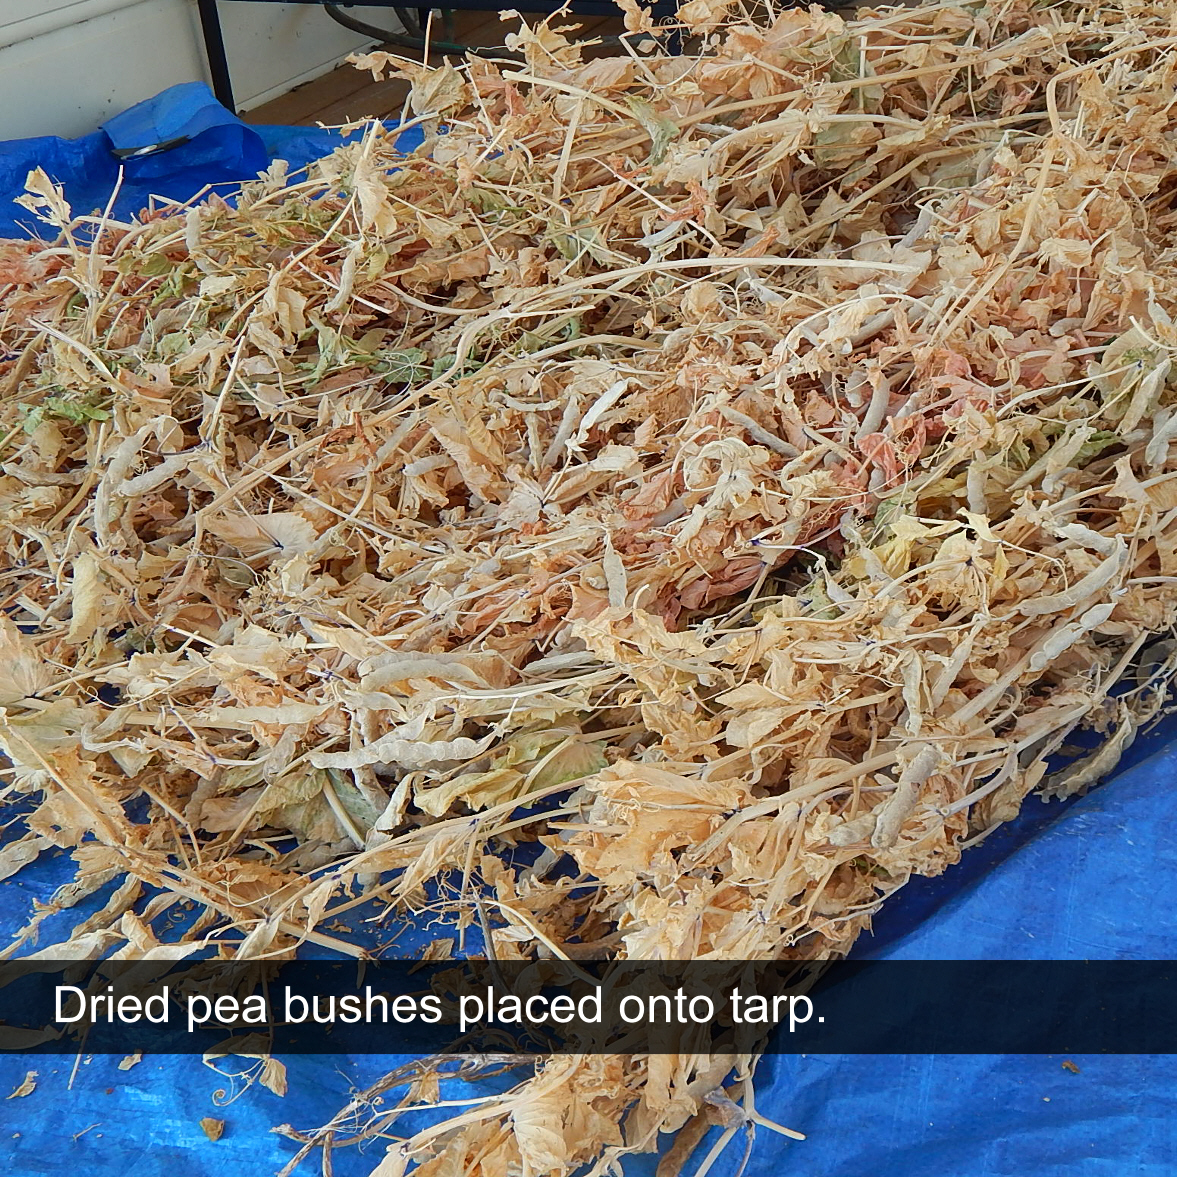
Mature pods are ready to harvest as soon as they turn brown on the bush and become dry. They may be hand-picked over a number of days as they brown, or alternatively the whole bush may be harvested, tied together, hung and left to dry in a cool, well-ventilated area until all pods are dry and brittle. All pods harvested should be left to further dry until completely dried out (approx. 2-4 weeks)
Then all you need to do is wait for a nice, sunny, dry day when there's little or no moisture in the air and no rain on the horizon........
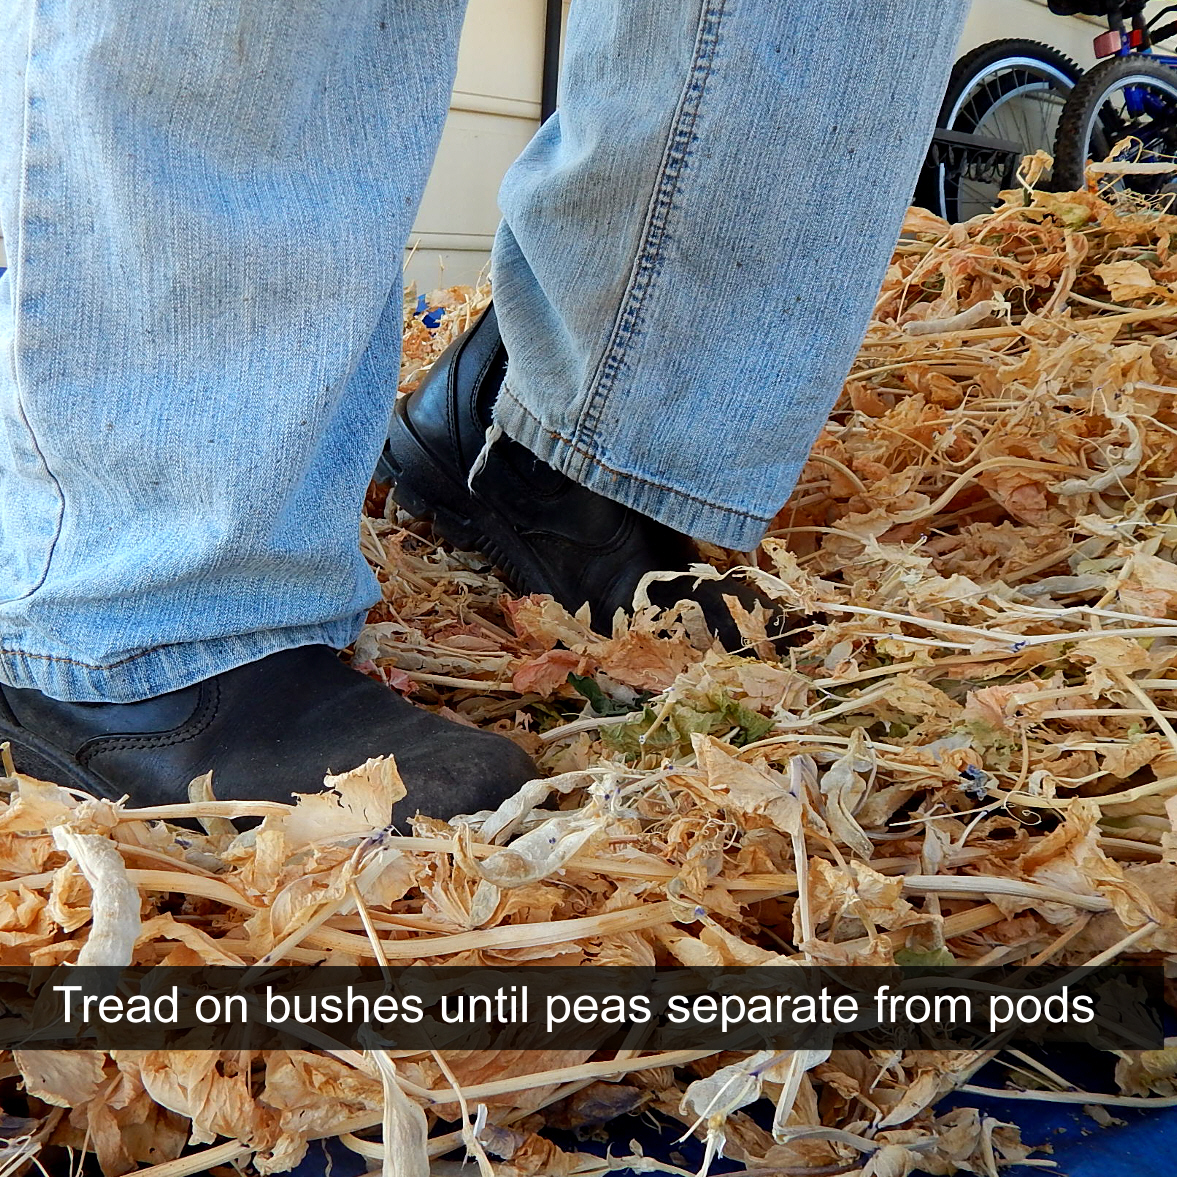
STEP 1: REMOVING PEAS FROM THE POD
For small quantities, the peas may simply be removed from their shell by hand. This is a great option as it leaves very little debris making them easier to clean, and can also be very enjoyable & therapeutic! :) However, the drawback is that it is very time consuming. (Something we learnt in the beginning of our venture when we had mountains of peas and no time!)
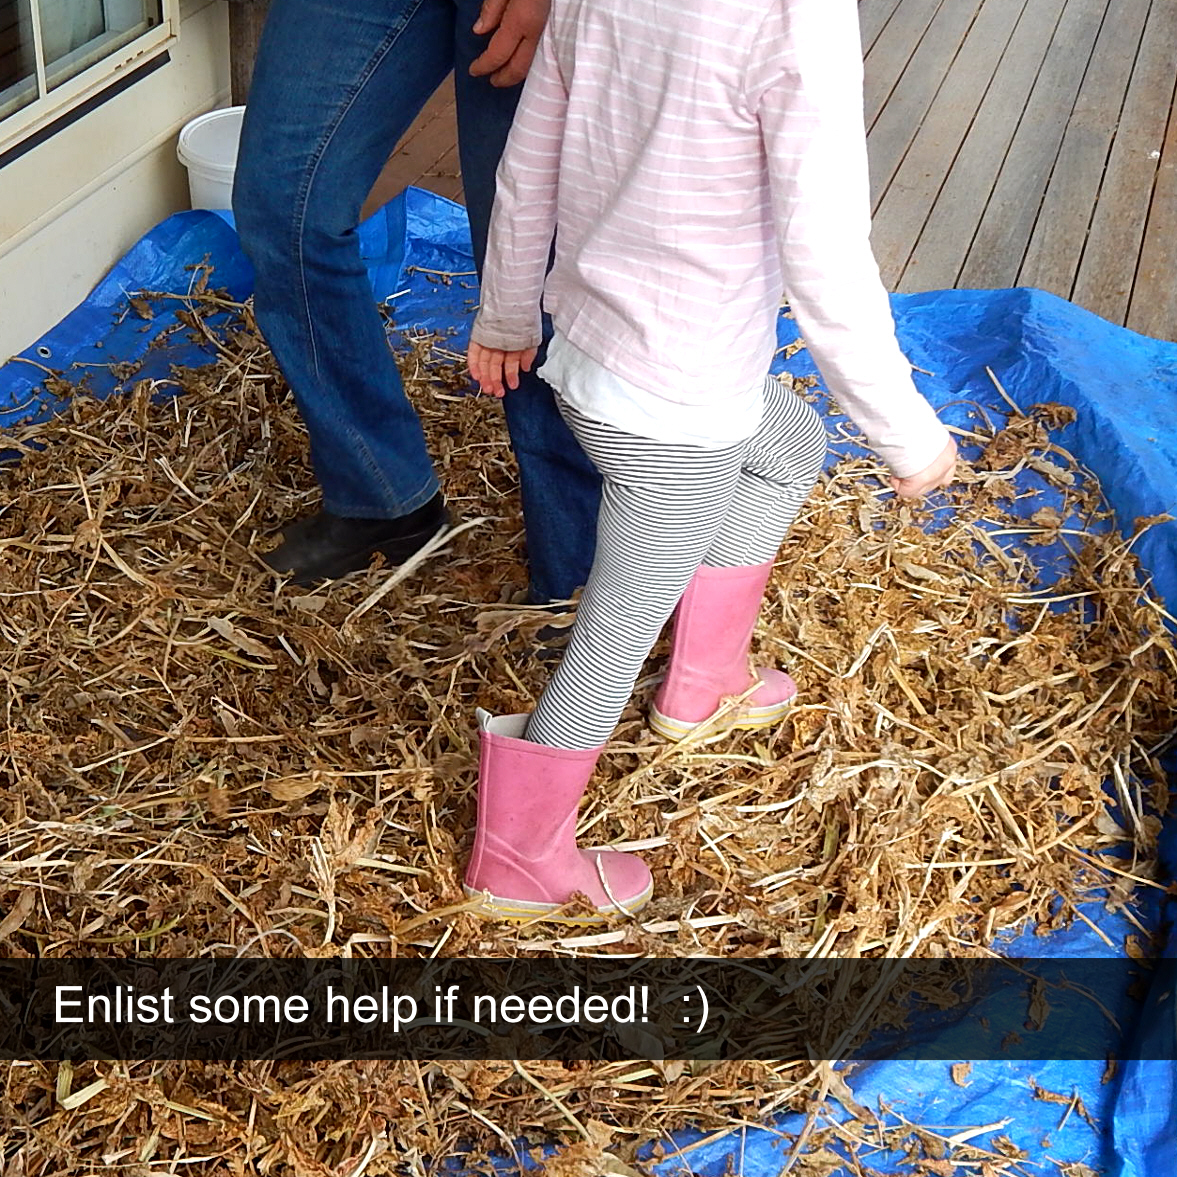
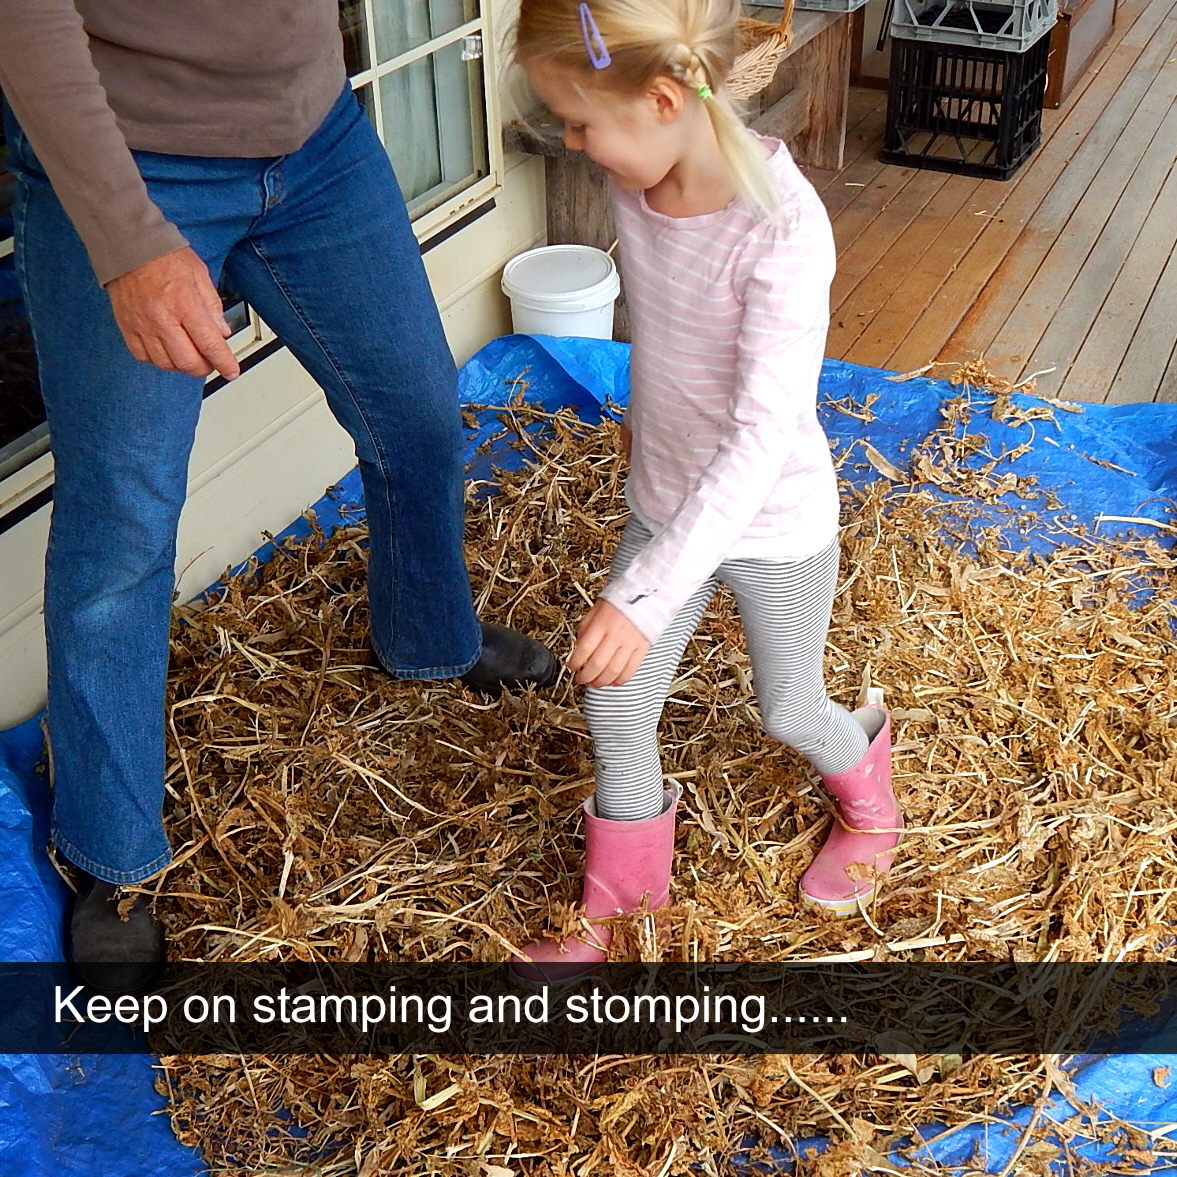
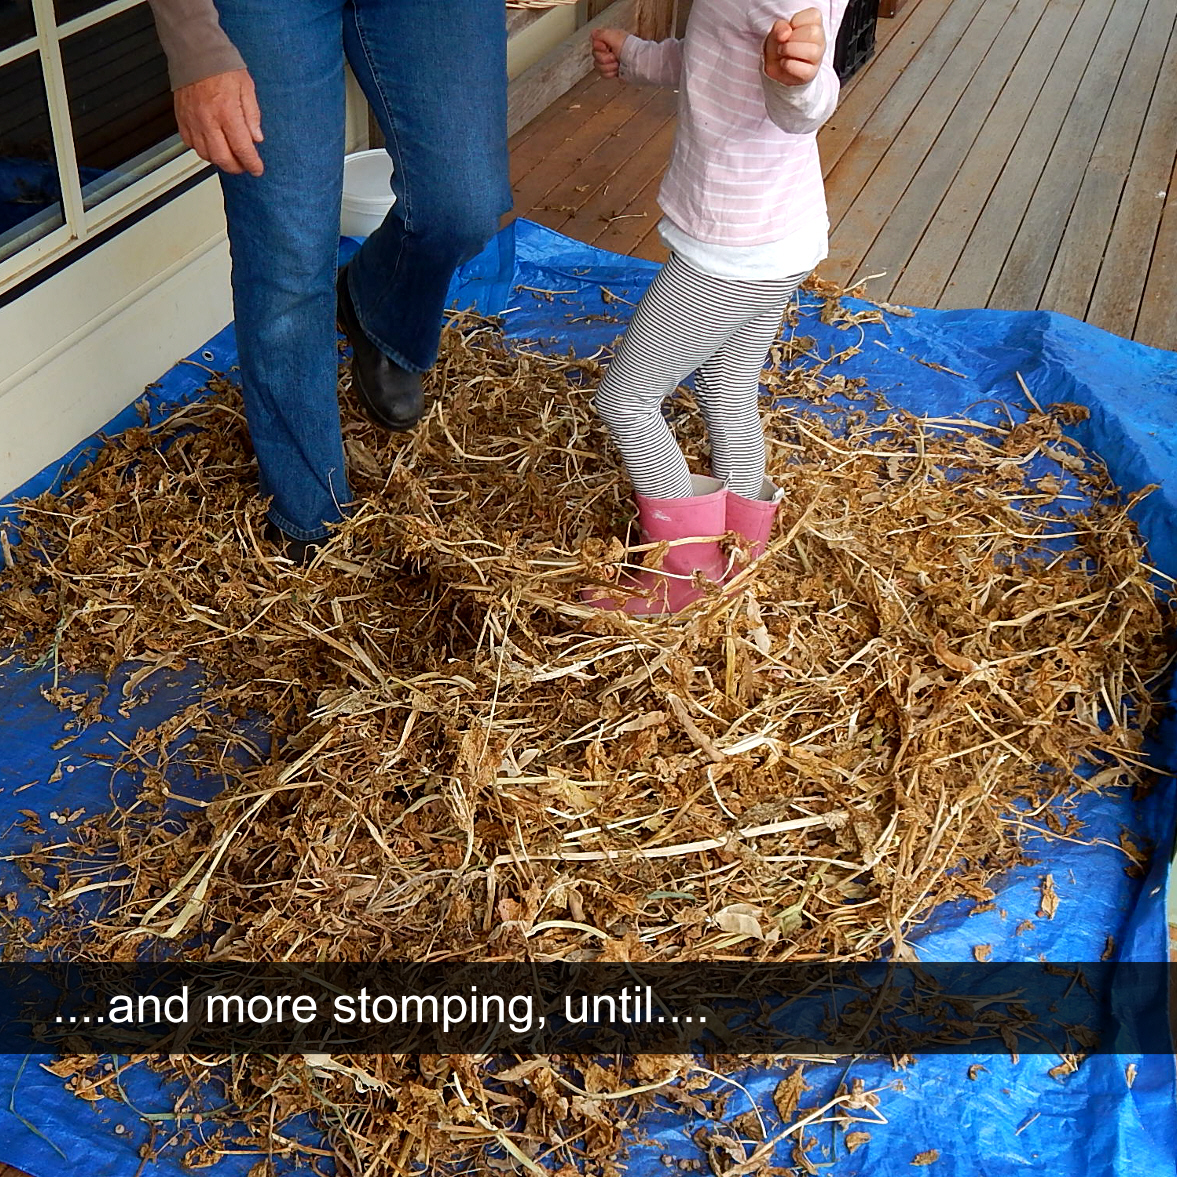
For larger quantities, the extraction of peas from the pod becomes much quicker by mass processing on a tarp, in a hession bag or similar and stamping all over them with boots on (this is also a great workout opportunity without going to the smelly gym!) Kids are always great to help with this too! Best results are achieved if this step is done on a dry day with little moisture in the air. When pods are dry and brittle they separate really easily from their shell.
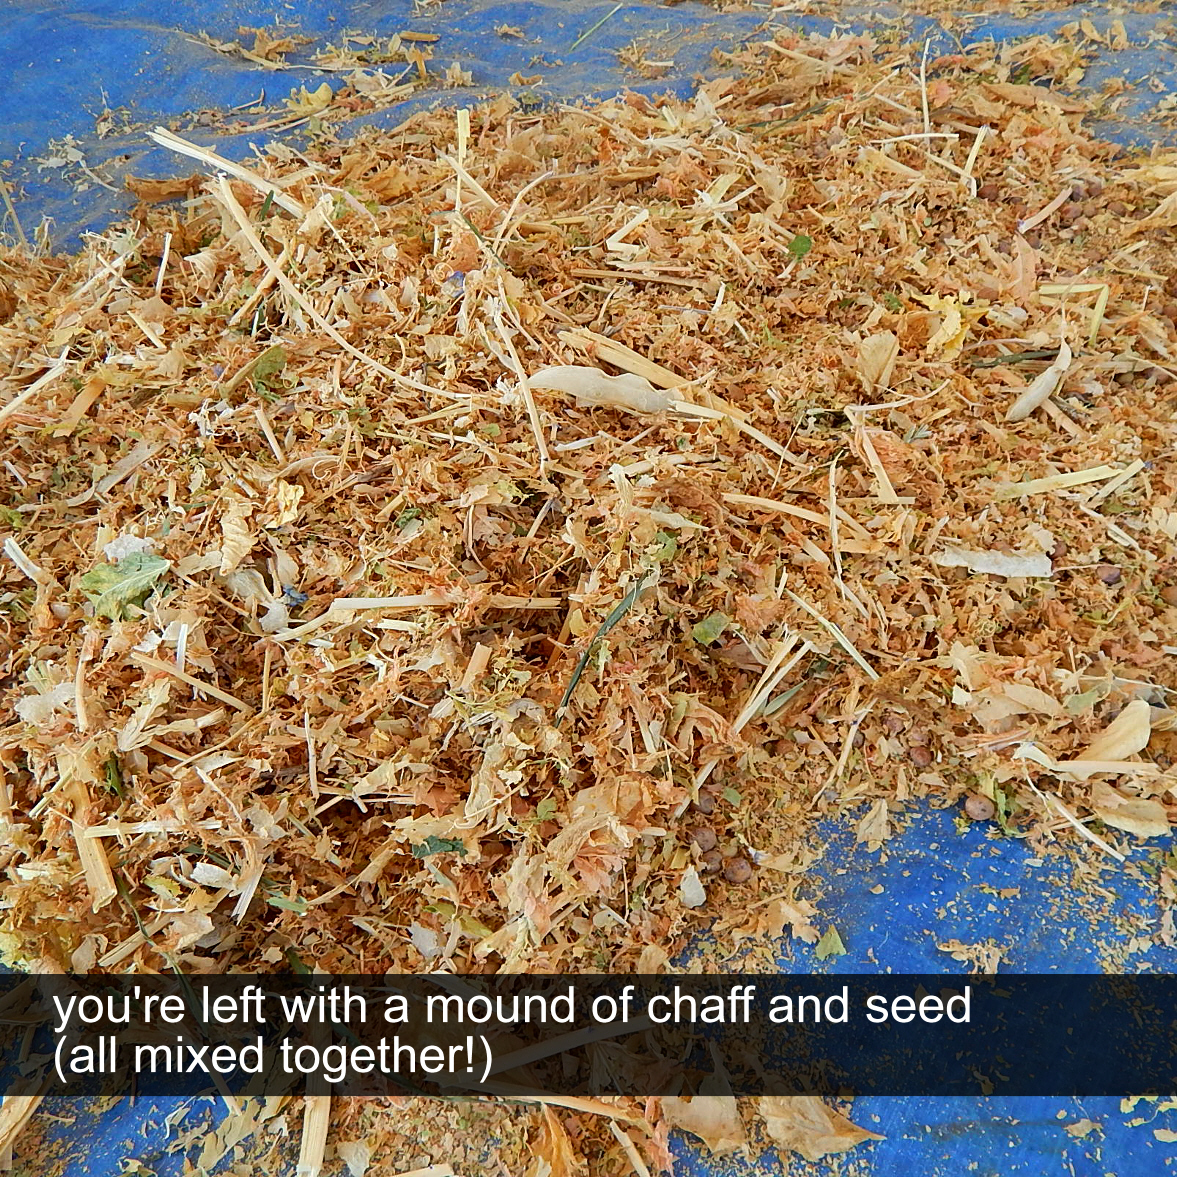
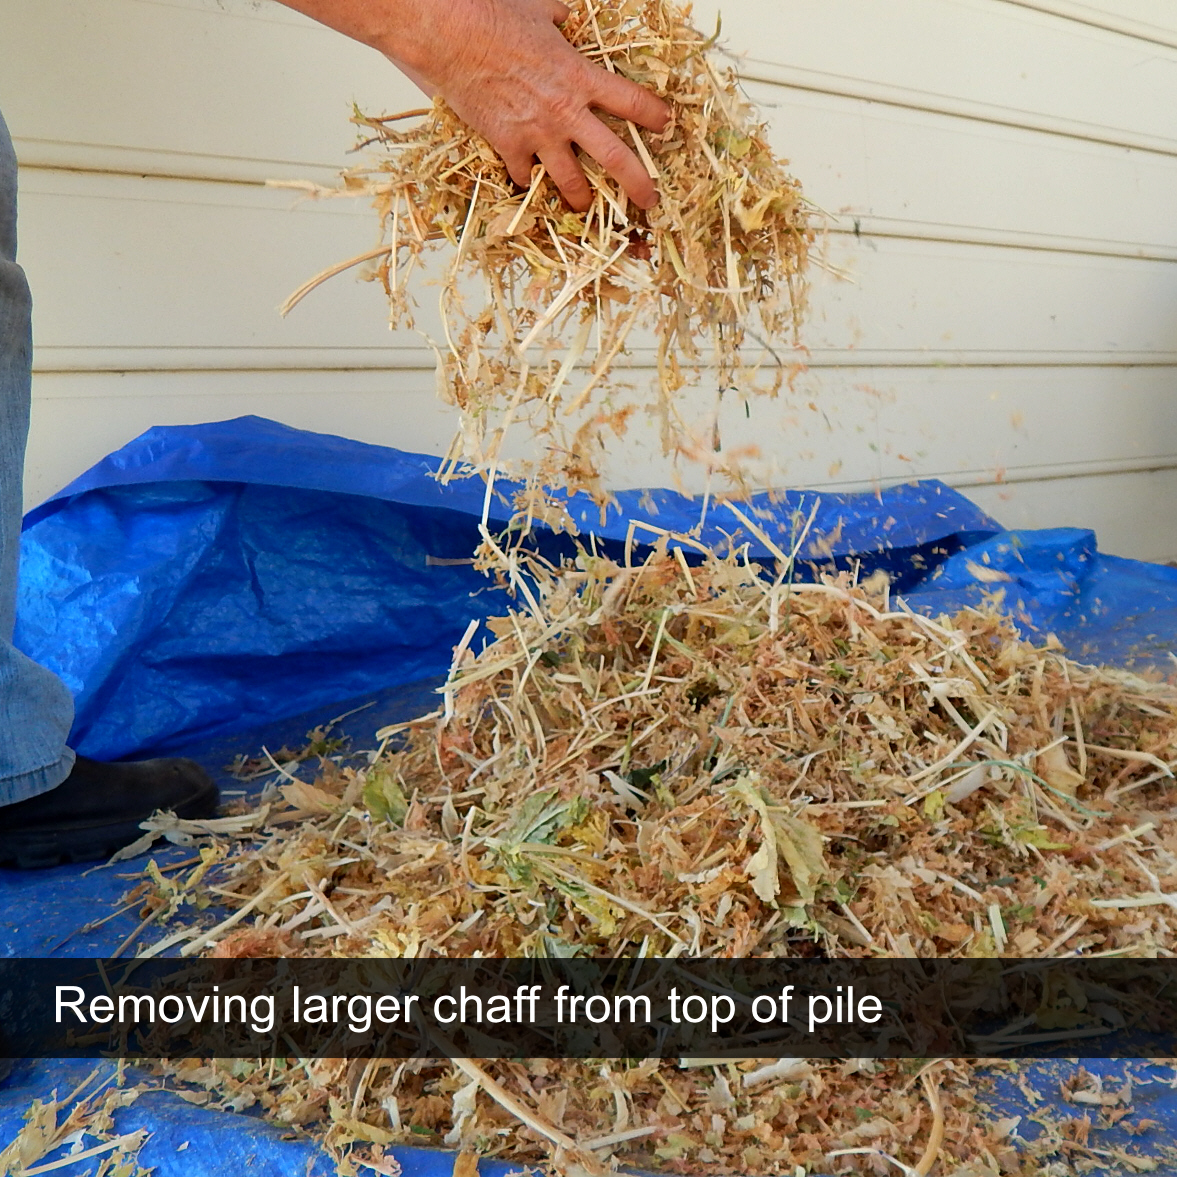
STEP 2: SEPARATE THE PEAS FROM THE CHAFF
You may think 'what a mixed up mess' at this stage, however the process is simple (and quick!).
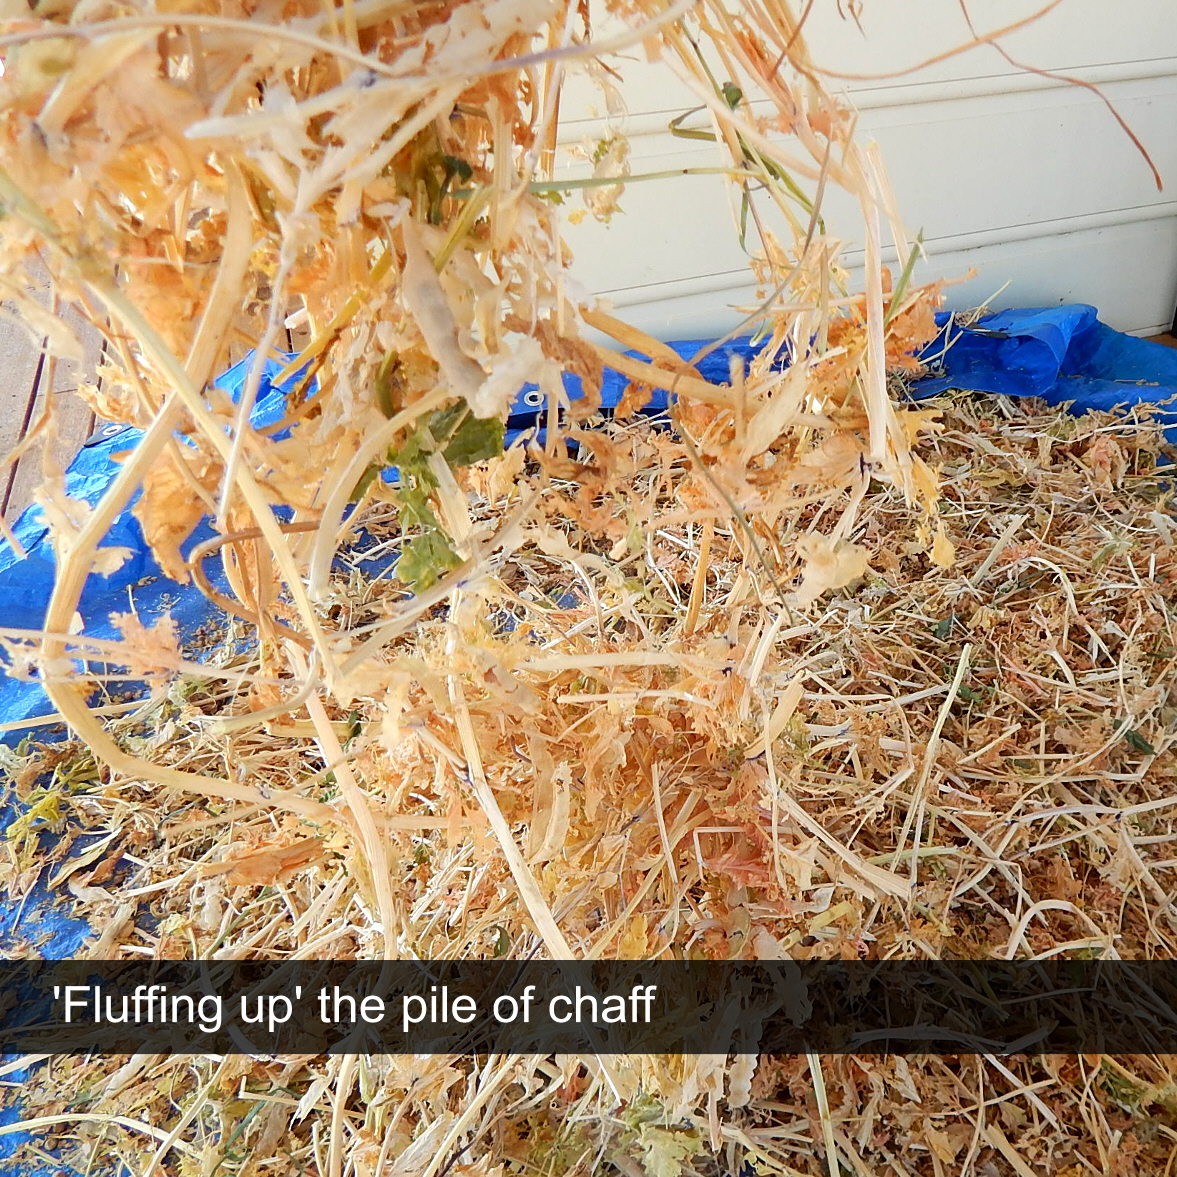
Using your hands, lightly 'fluff up' the pile a few times. The larger and lighter chaff will rise to the top with the heavier, pea seed remaining on the bottom.
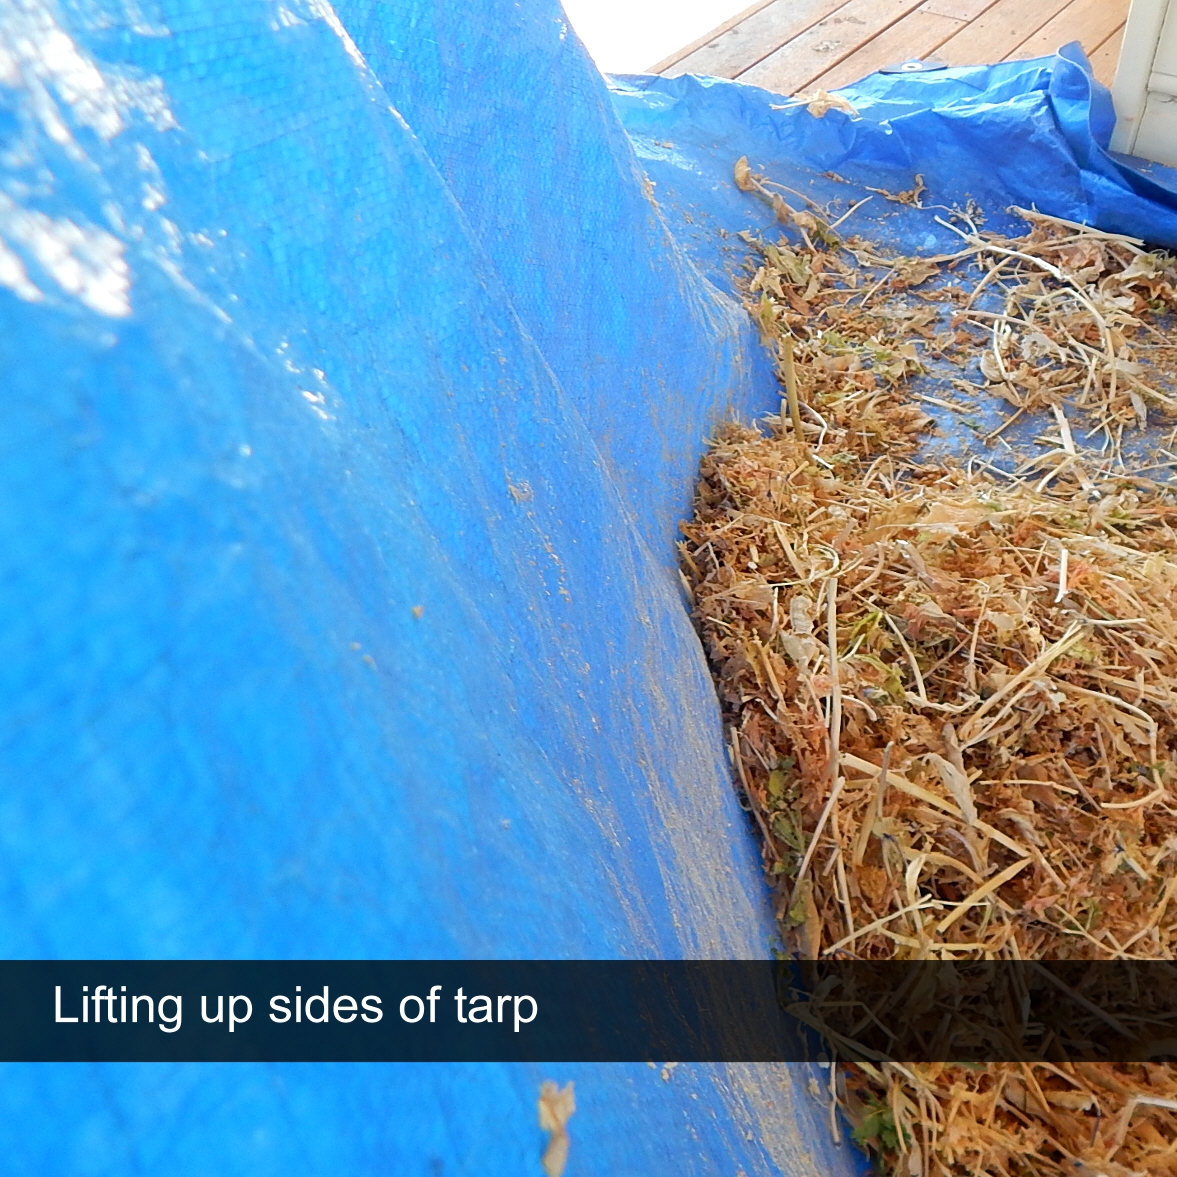
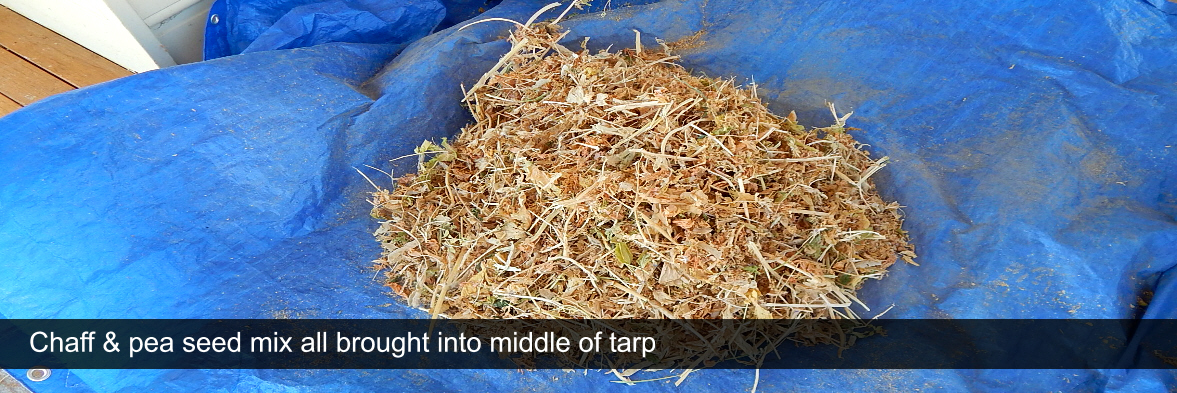
Once all of the larger chaff has been removed, pick up each of the corners of the tarp and draw the chaff seed pile into the middle of the tarp in one big pile.
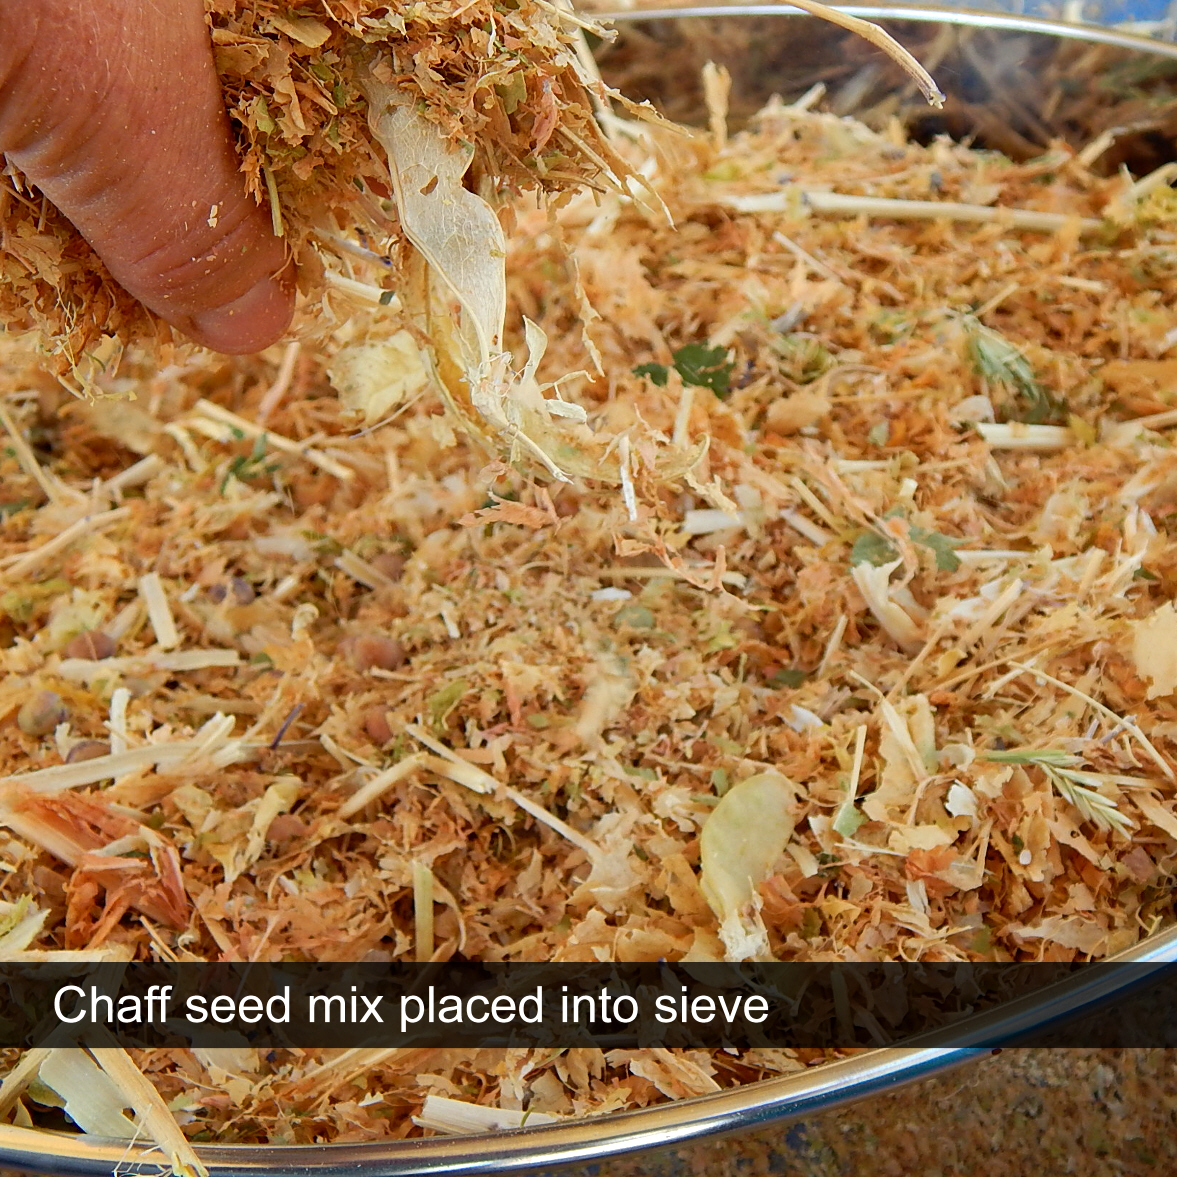
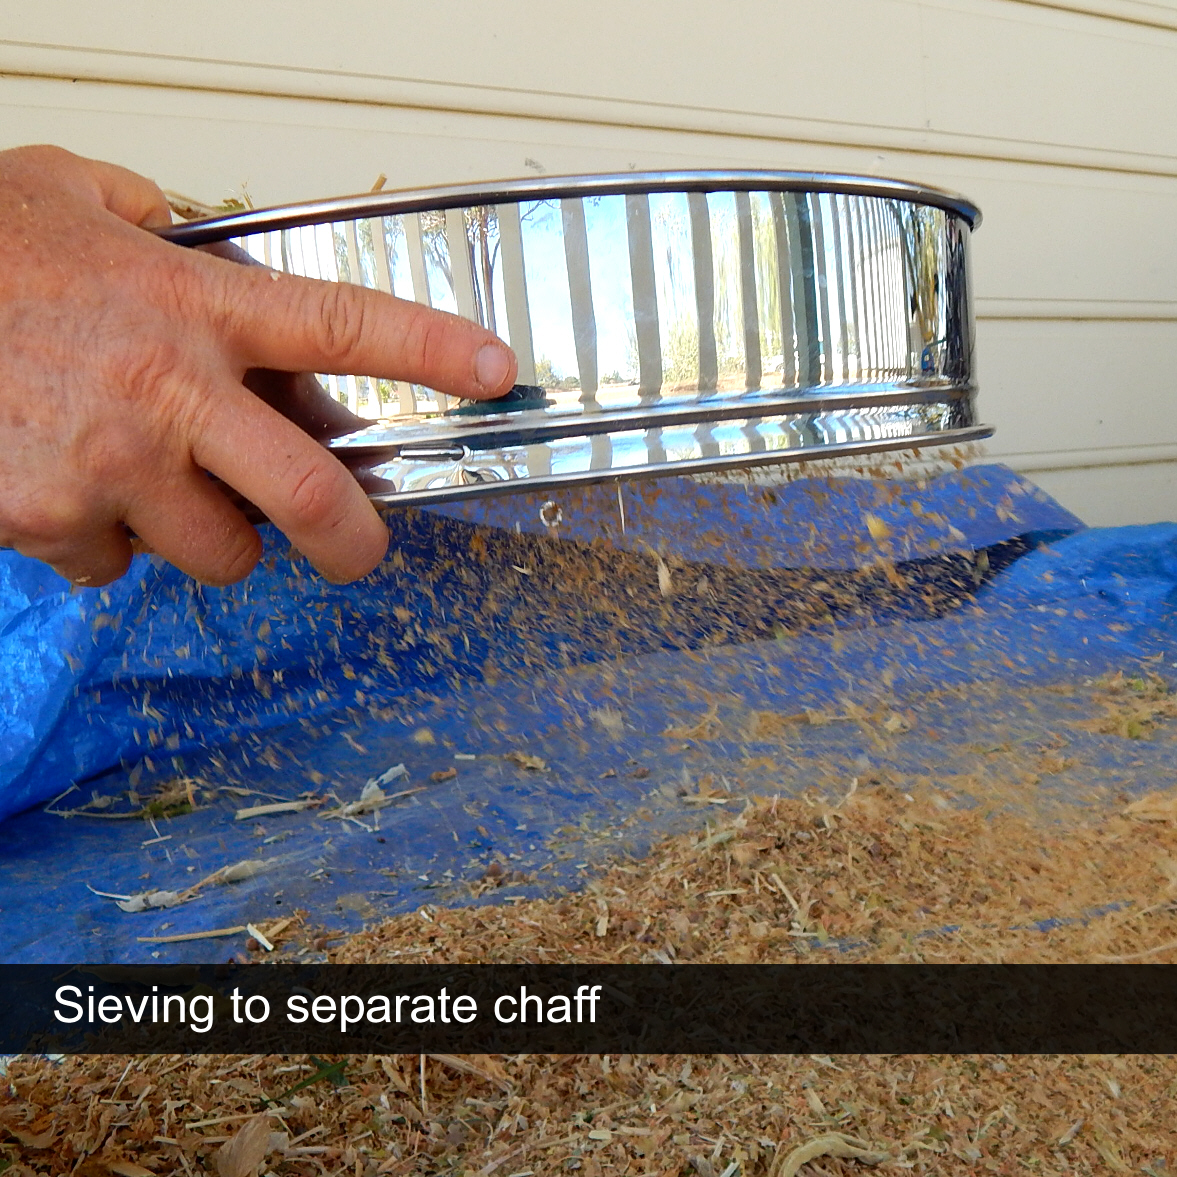
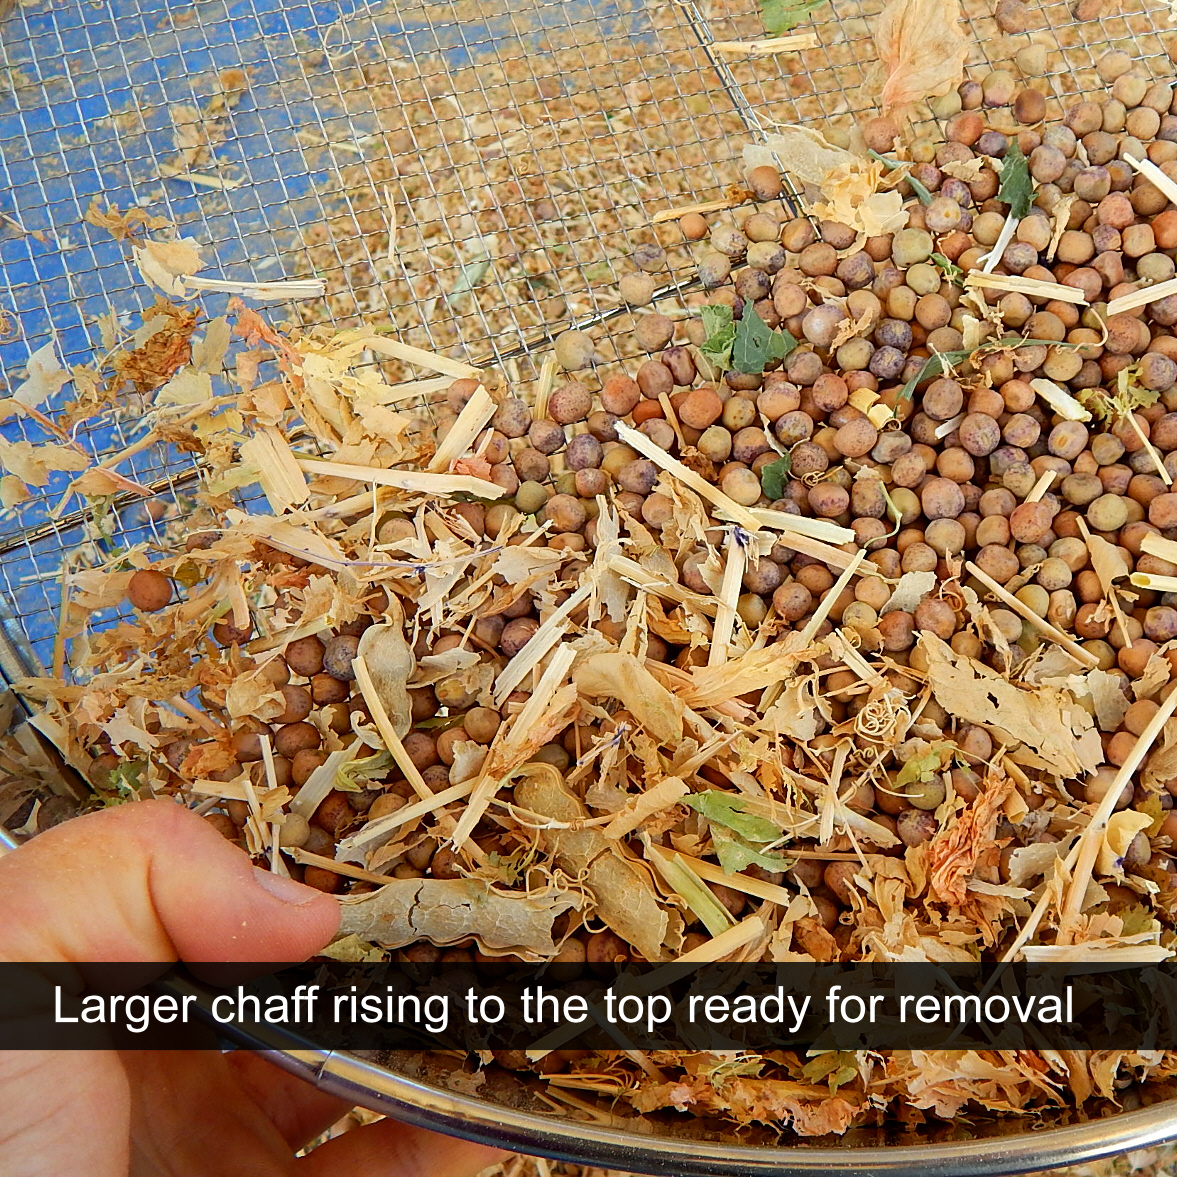
STEP 3: SIEVING TO CLEAN
Place chaff and seed mix into a sieve (5-12mm size holes) and shake. This should let any smaller chaff fall through and any larger and lighter chaff to rise to the top. Remove the larger chaff by hand or by blowing across the top of the sieve. Keep sieving and removing top chaff until relatively clean.
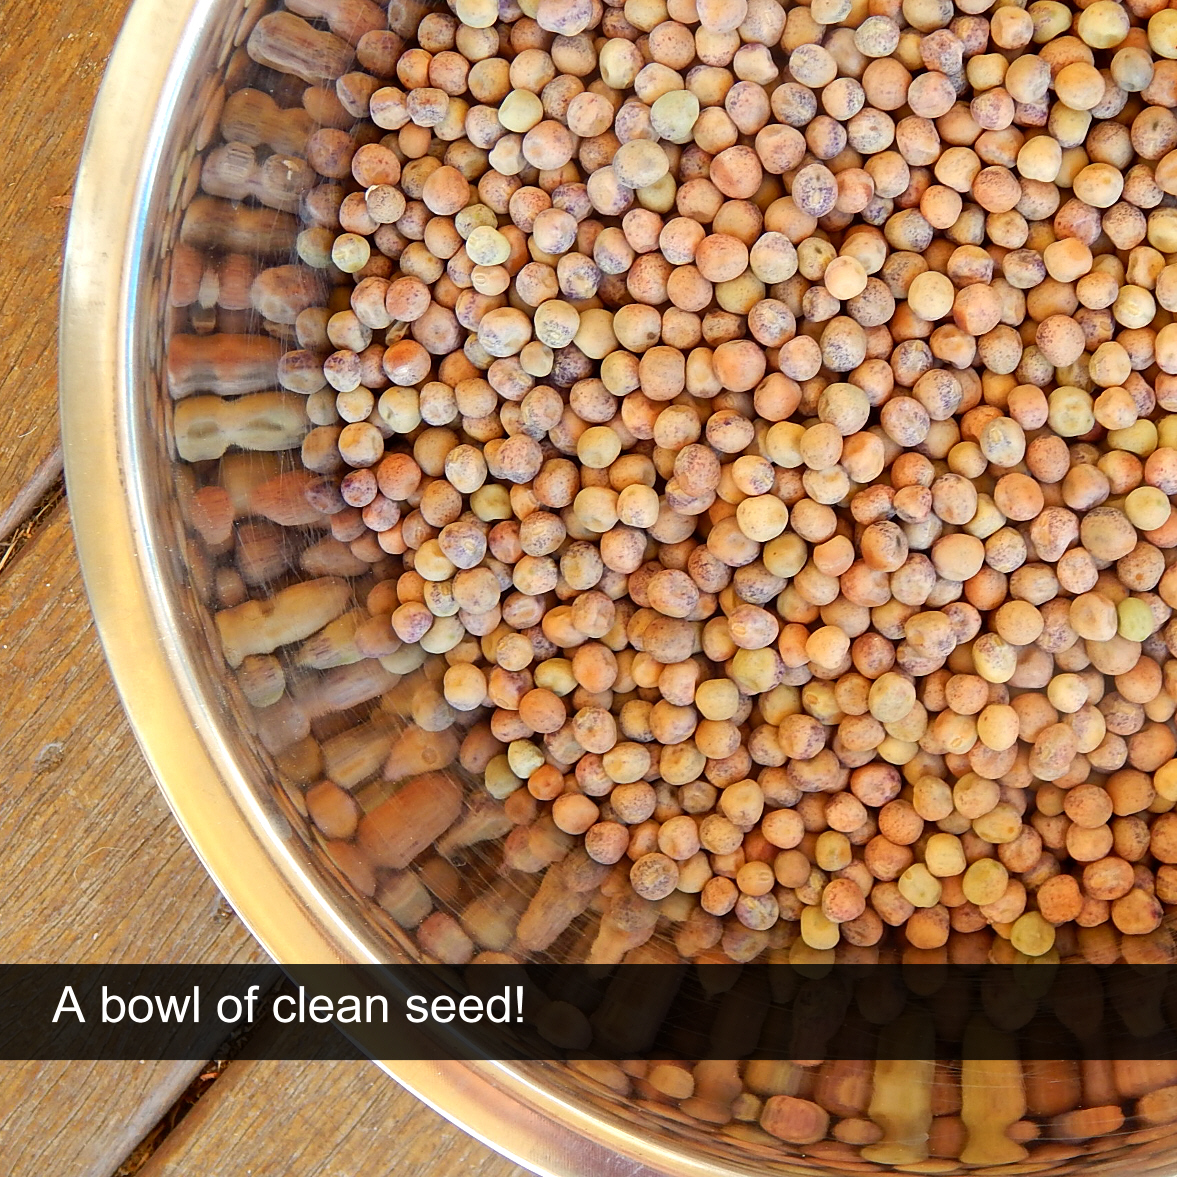
STEP 3: WINNOWING
Pour the relatively clean seed into a large bowl and have a second large bowl ready.
Set up a fan on high speed.
Pour the chaff seed mix from one bowl into another in front of the fan. The lighter chaff will easily blow away leaving the much heavier seed to fall into the second bowl. Repeat this process until seed is clean.
.jpg)
.jpg)
Too easy!