.jpg)
TOMATO
FAMILY: Solanaceae
LIFE CYCLE: Frost-sensitive perennial. Grown as an annual in cooler areas.
POLLINATION: Self-pollinating, however also insect pollinated depending on variety.
PROCESSING METHOD: Fermentation & Rinsing
SEED LIFE: 4-6 Years
ISOLATION DISTANCE: 3-15m
One of the easiest seeds to save with only a few fruit producing copious amounts of seed.... easily enough for the home gardener. With such a myriad of different colours, shapes and sizes the tomato is one of the seed types often passed down from generation to generation resulting in the wide variety of seed we have today.
While tomato flowers are self-pollinating, in some varieties there is still a need to be careful of cross-pollination by insects. Many gardeners will identify the potential of cross-pollination of a variety by whether it is a potato-leaf variety or not, on the belief that these 'potato leaf' varieties will cross-pollinate whereas all others won't. In many cases this is true, but certainly not all.
We find the best test for potential cross-pollination is to look at the flowers rather than the leaf! By looking at the style length (the long central stem in the middle of the flower) and whether the stigma (the bit at the very end with the pollen on it) is exposed or inserted.
.jpg)
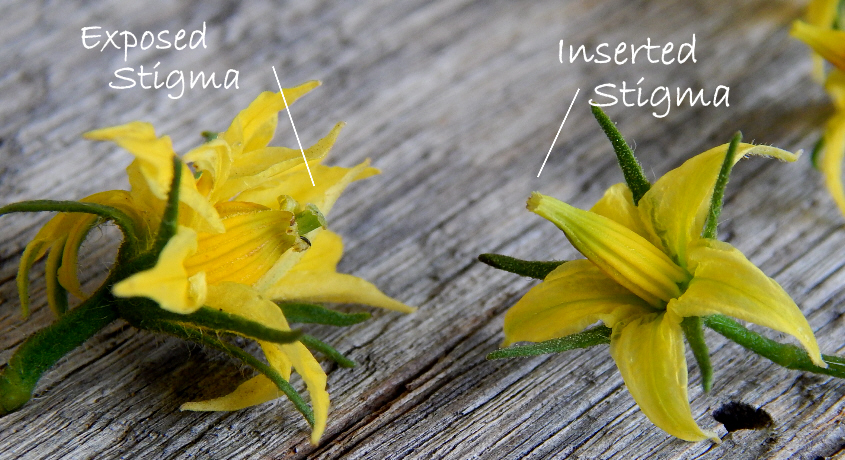
Inserted Stigma - has a closed flower so
.jpg) that pollinating insects are kept out. Very little to no chance of pollinating insects entering.
that pollinating insects are kept out. Very little to no chance of pollinating insects entering.
If the tomato variety you are saving seed from has an exposed stigma - don't worry! All you need to do is make sure it is growing at least 6-15m from other varieties. Alternatively, you can also bag the flower cluster using blossom bags when they first form prior to opening & then remove the bag as soon as you see tiny fruit forming. Don't forget to mark the blossoms you've bagged with flagging tape so that you can tell them apart from others you may have missed. If your variety has an inserted stigma - no worries!
When to harvest? As soon as the tomatoes have completely ripened on the bush they are ready to harvest for seed ie. full coloured & slightly soft when pressed.
Then the fun begins......
STEP 1: Cut the fruit & squeeze seeds, juice & pulp into a glass.
With cherry tomatoes, we find it much quicker & just as effective to simply cut the top off the fruit & then squeeze (rather than cutting through the middle). If you have a lot of tomatoes or you're saving seed from very small cherry tomatoes, the whole tomato may be placed into a bucket / jar & squashed to a mash. Add extra water if needed.
Be sure to leave a lot of room in the top of the glass as you will be adding water later on.
.jpg)
.jpg)
.jpg)
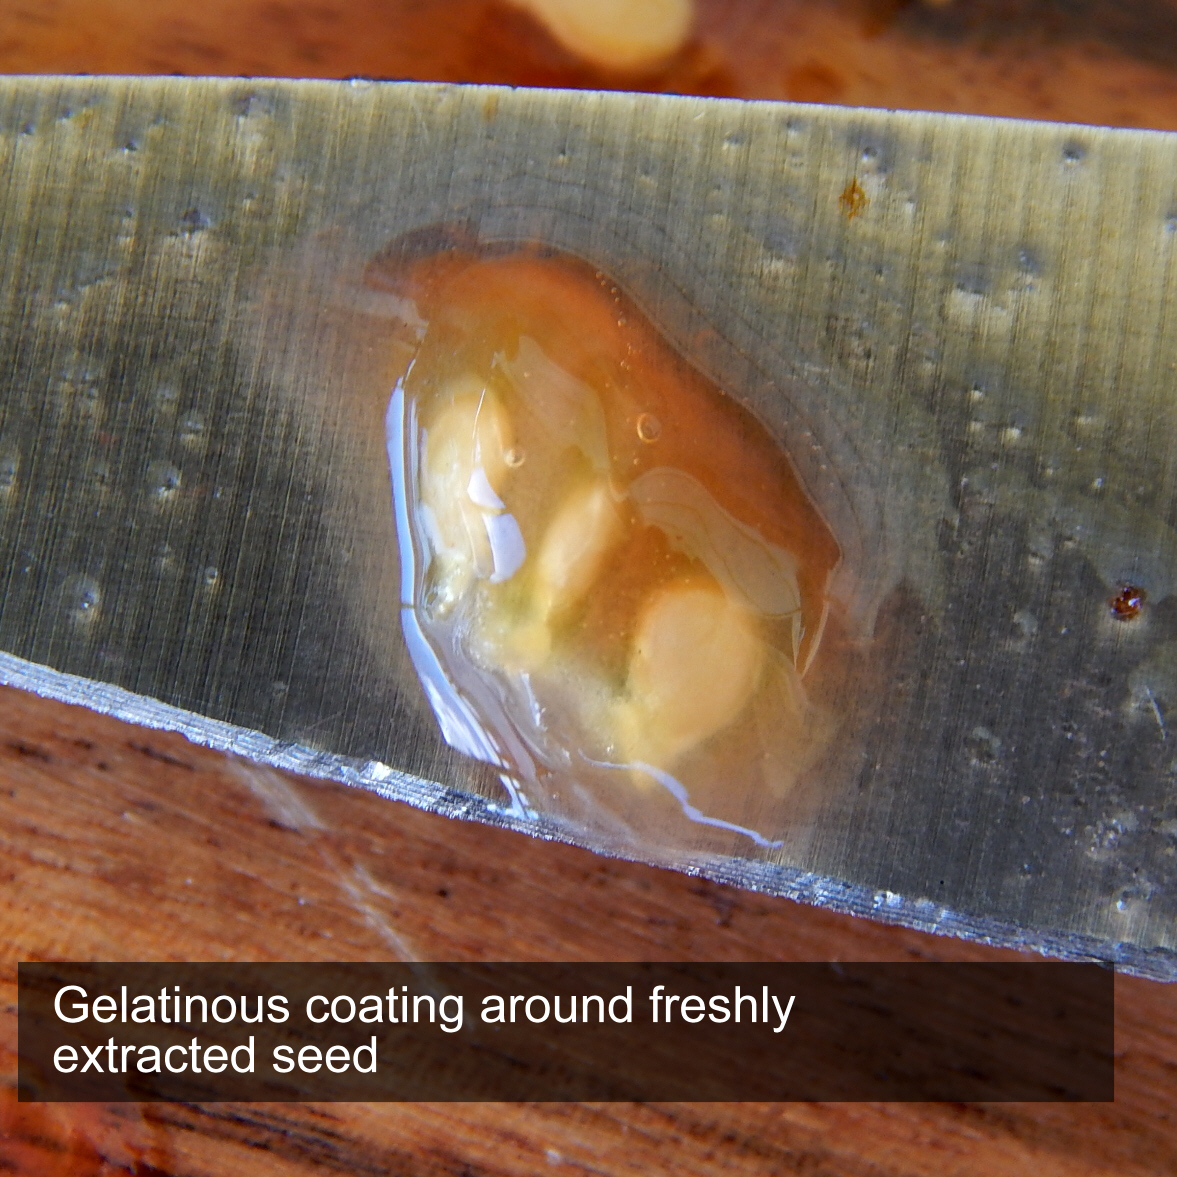
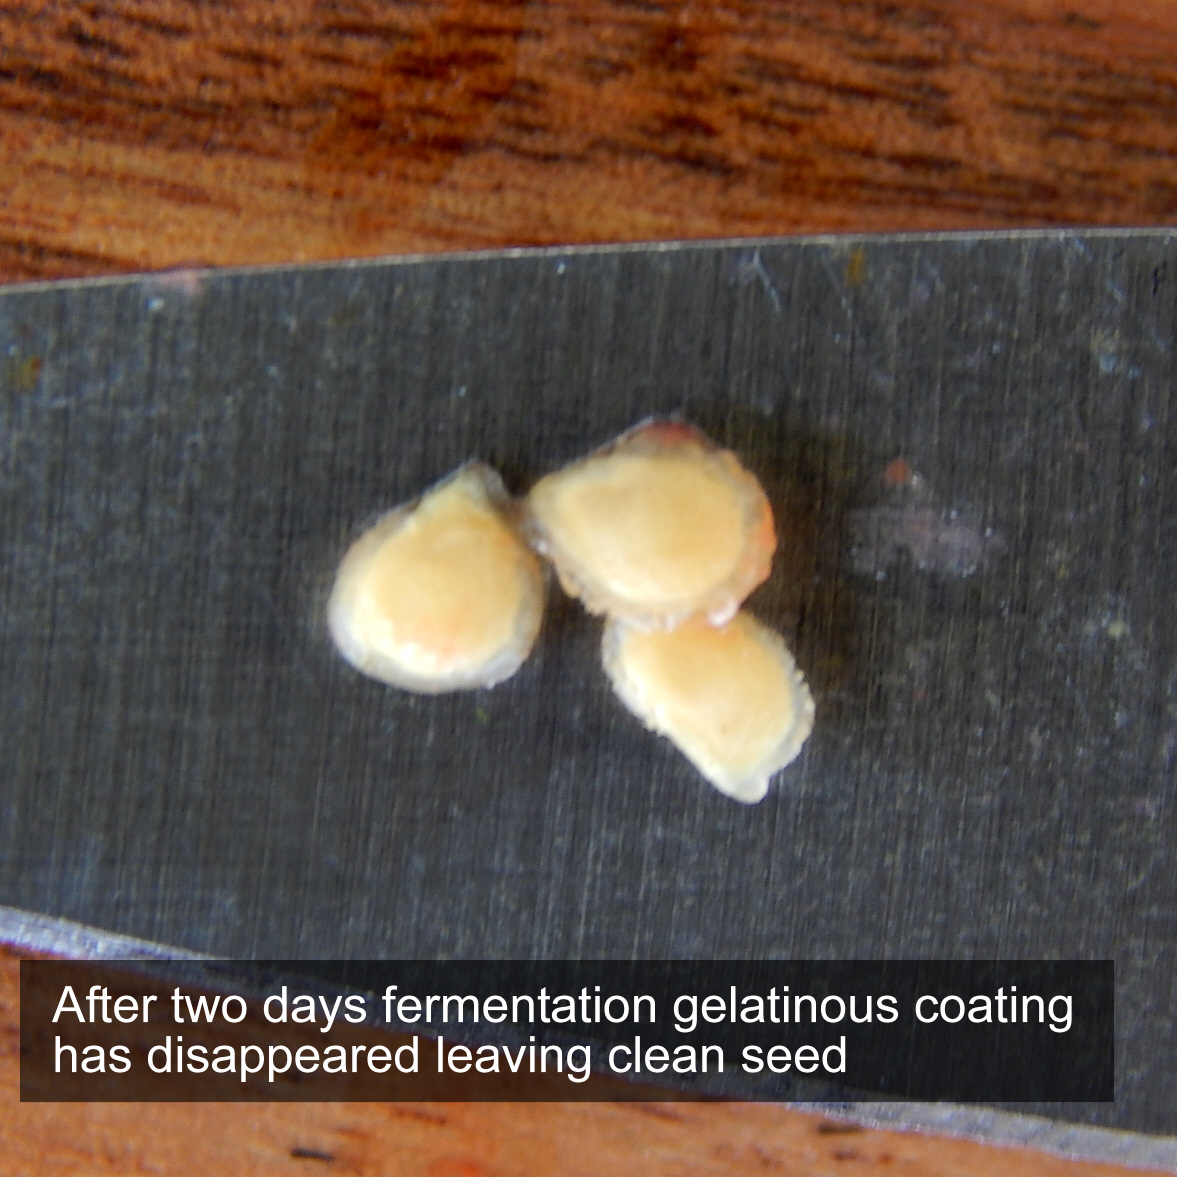
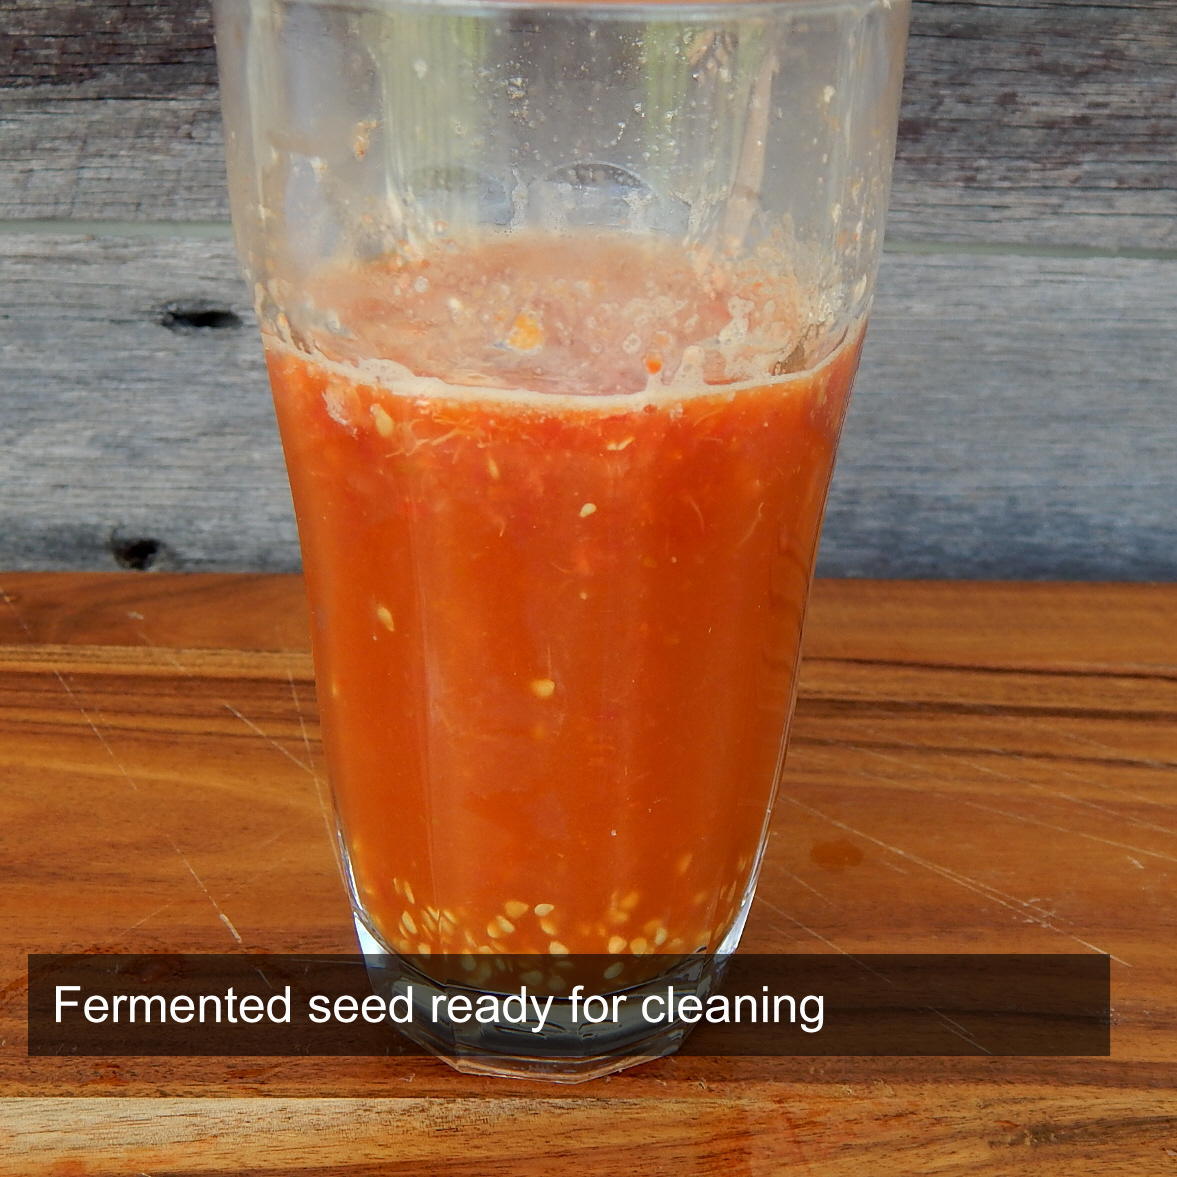
STEP 2: Allow to sit and ferment for 1-3 days
This process is essential as it both removes the gelatinous coating around the seed making it easier to clean and also kills any disease which may be present. The ideal temperature is from 20-30'C. The warmer the weather, the quicker the seed mix will ferment.
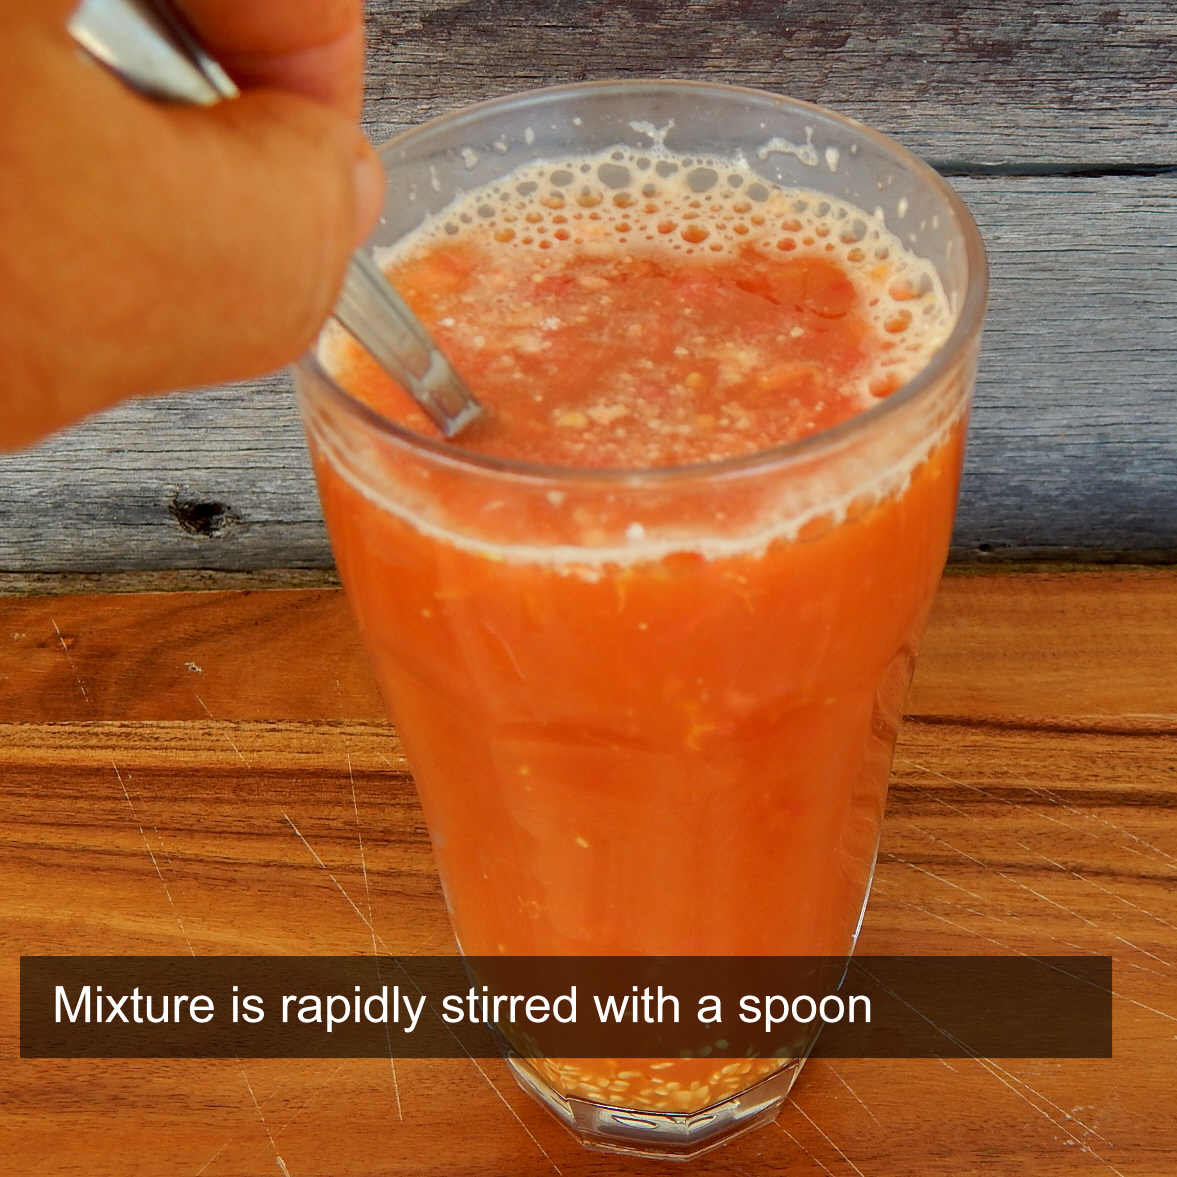
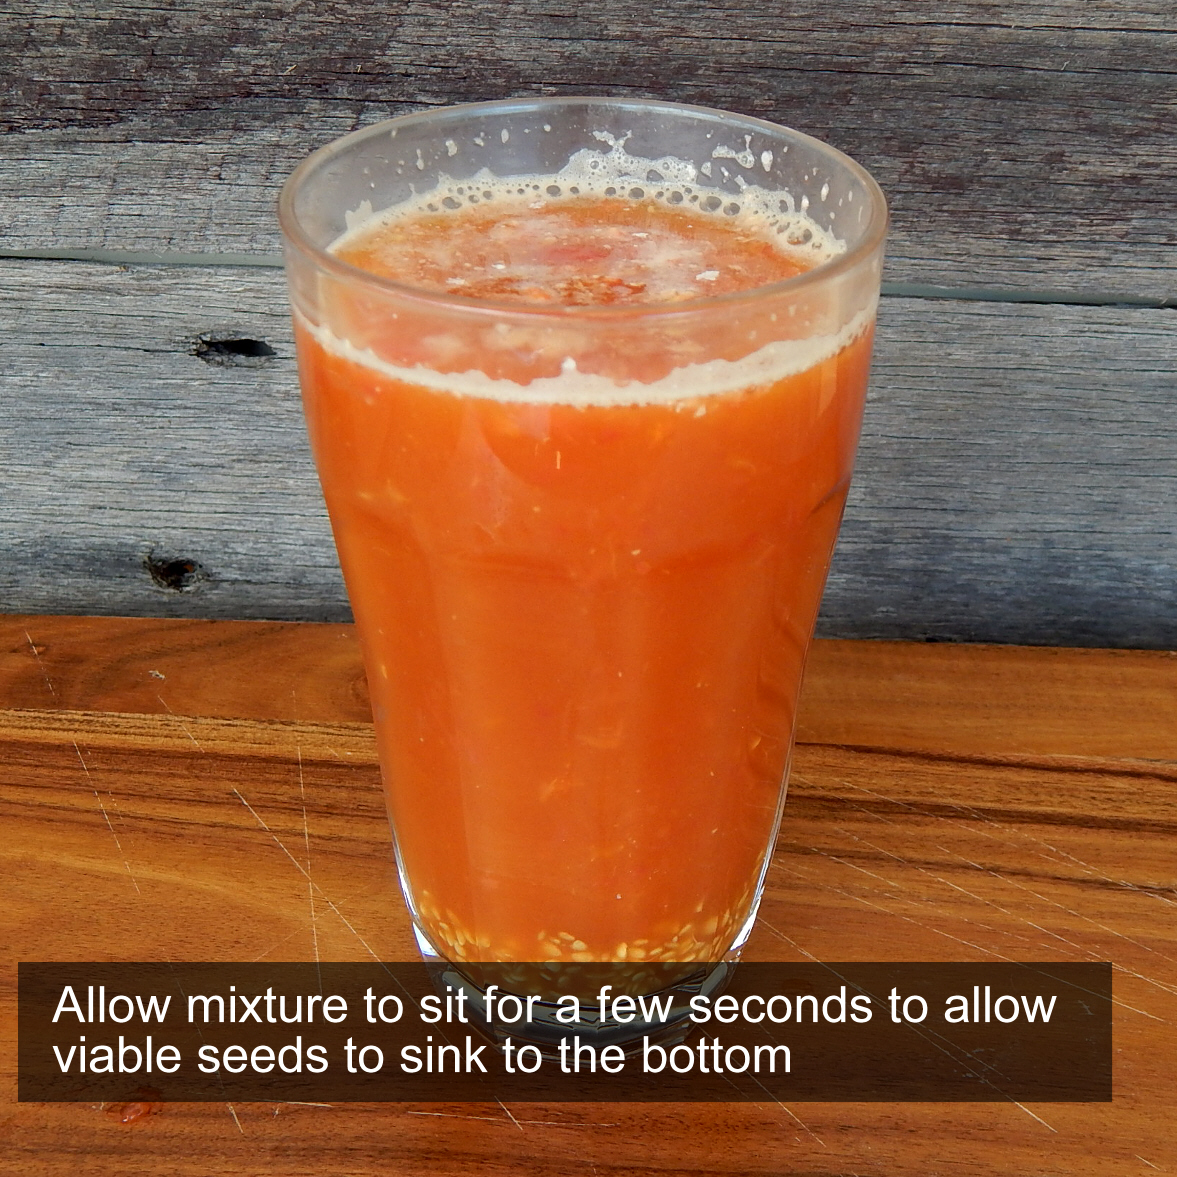
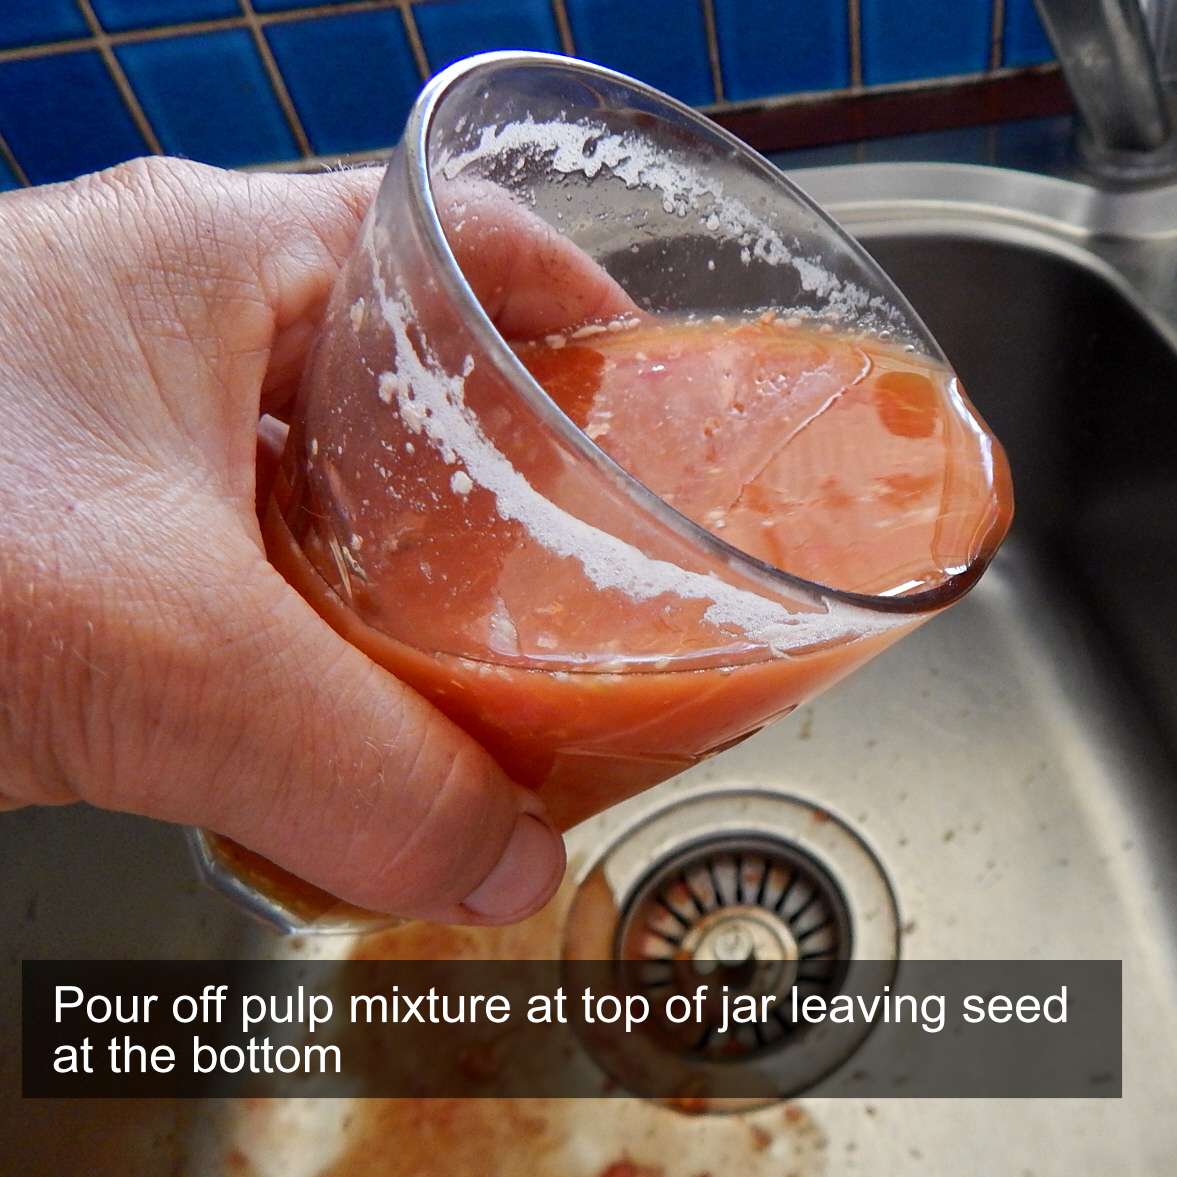
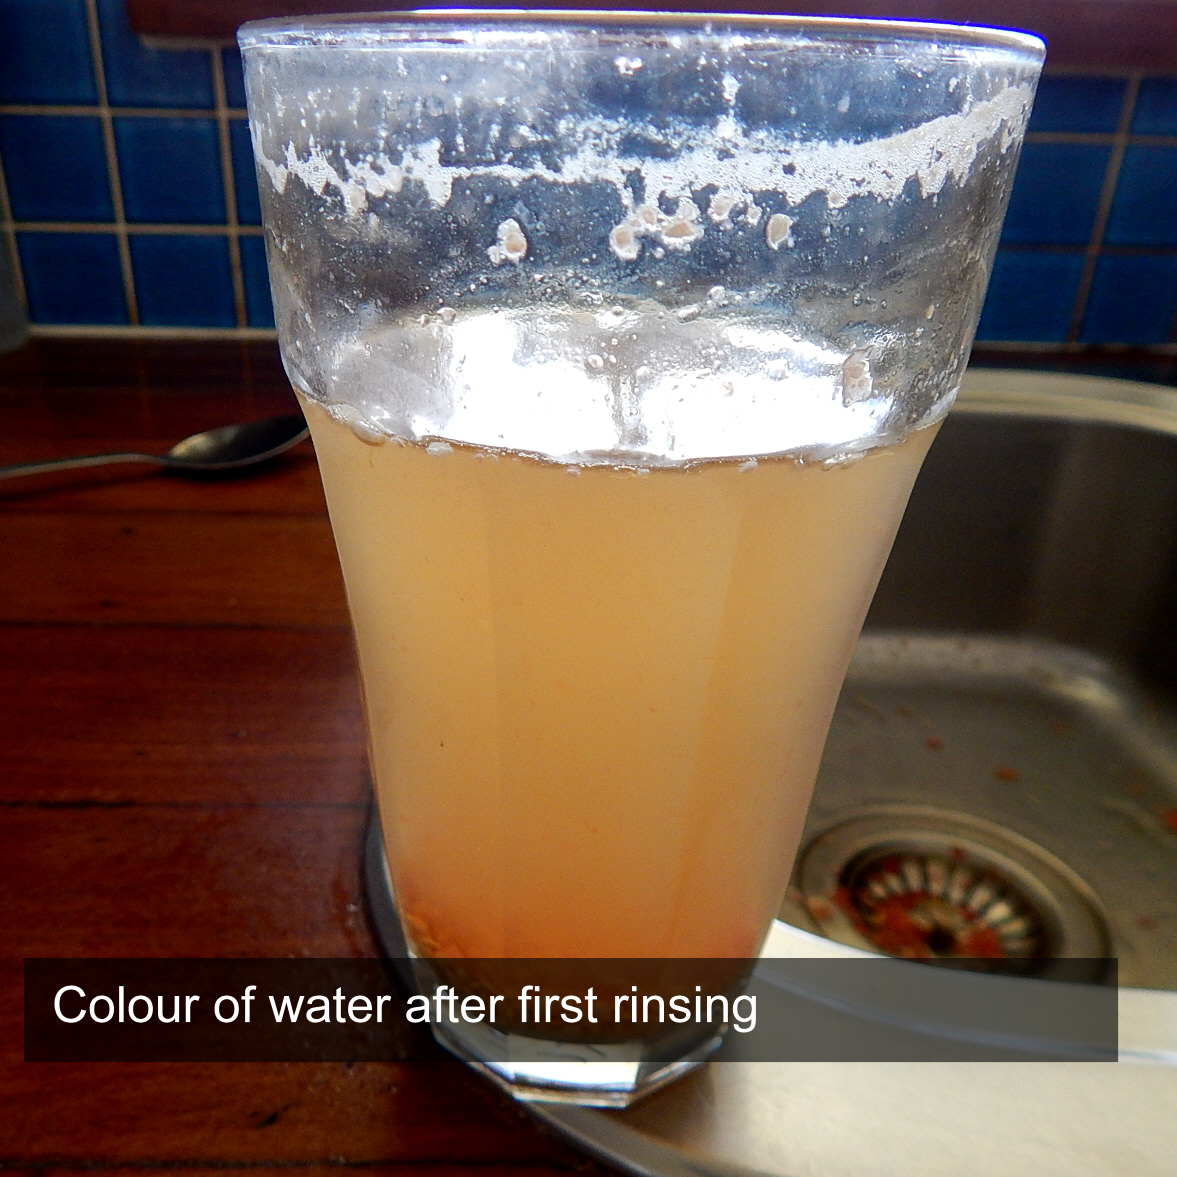
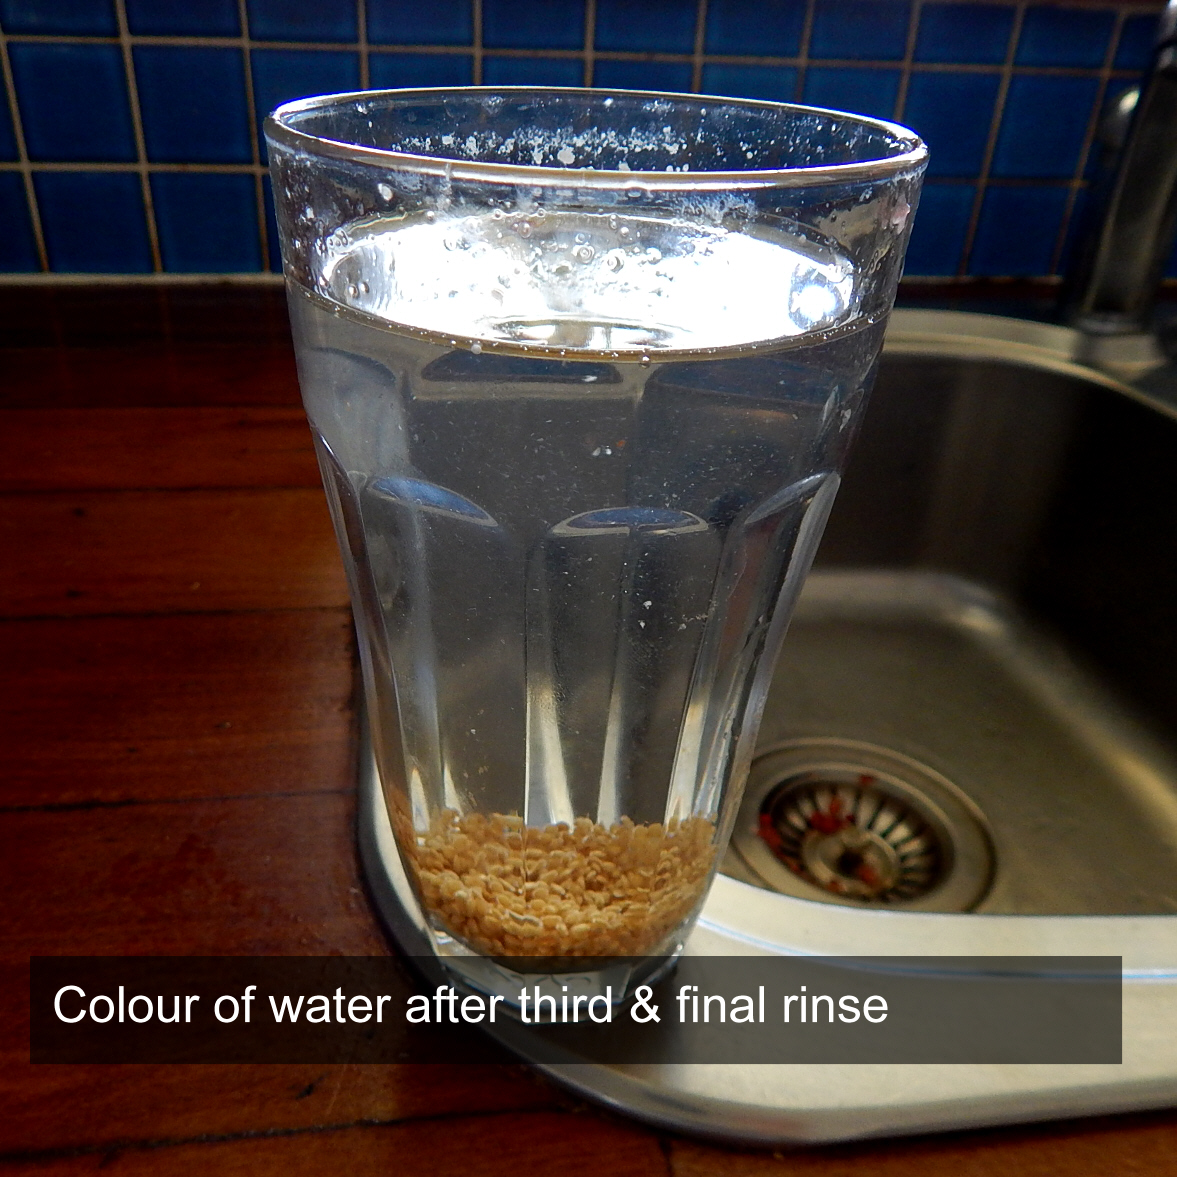
STEP 3: Add water & stir.
Once the gelatinous coating has been dissolved, add water to near the top of the glass and stir. This will clean the seed and separate it from the pulp. You will notice that the seeds will sink and sit on the bottom of the glass. The pulp & any unviable seed will float to the top of the glass. Pour off the top pulp mixture leaving just the seed in the bottom. Add more water & pour off again. Repeat this process until water is clear & only seed remains in the bottom of the glass.

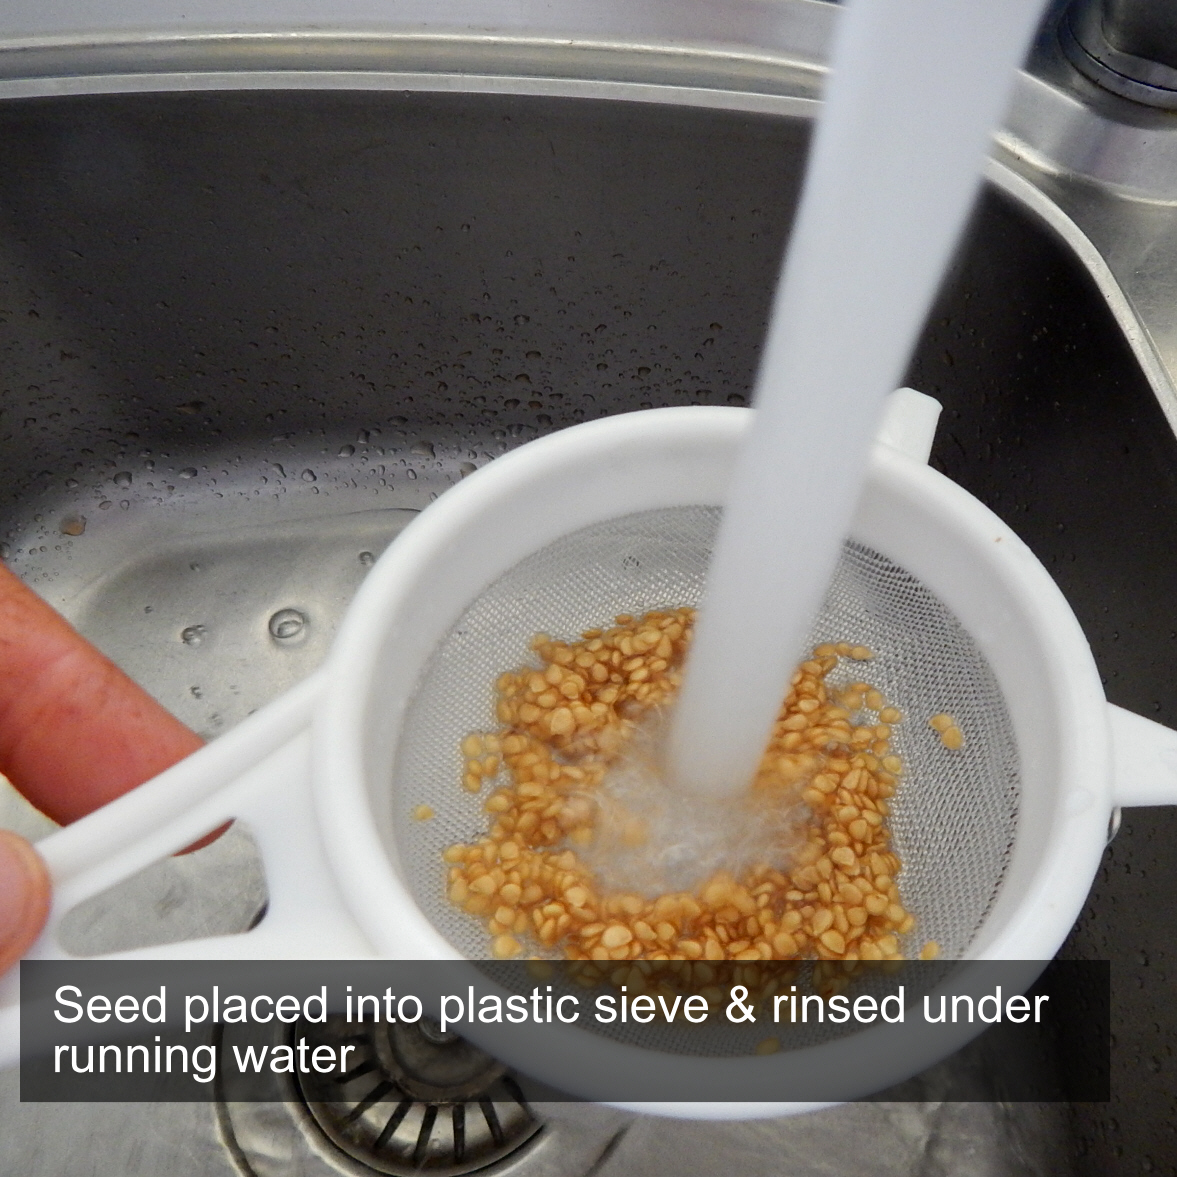
STEP 4: Pour seed into a strainer & rinse.
Seed is placed into a plastic strainer & rinsed under running water completing the cleaning process. Place seed onto a flat surface & spread out to dry. While we use large wooden trays, you could also use a plate, mesh or something similar. It is best to AVOID paper as seed will stick to it.
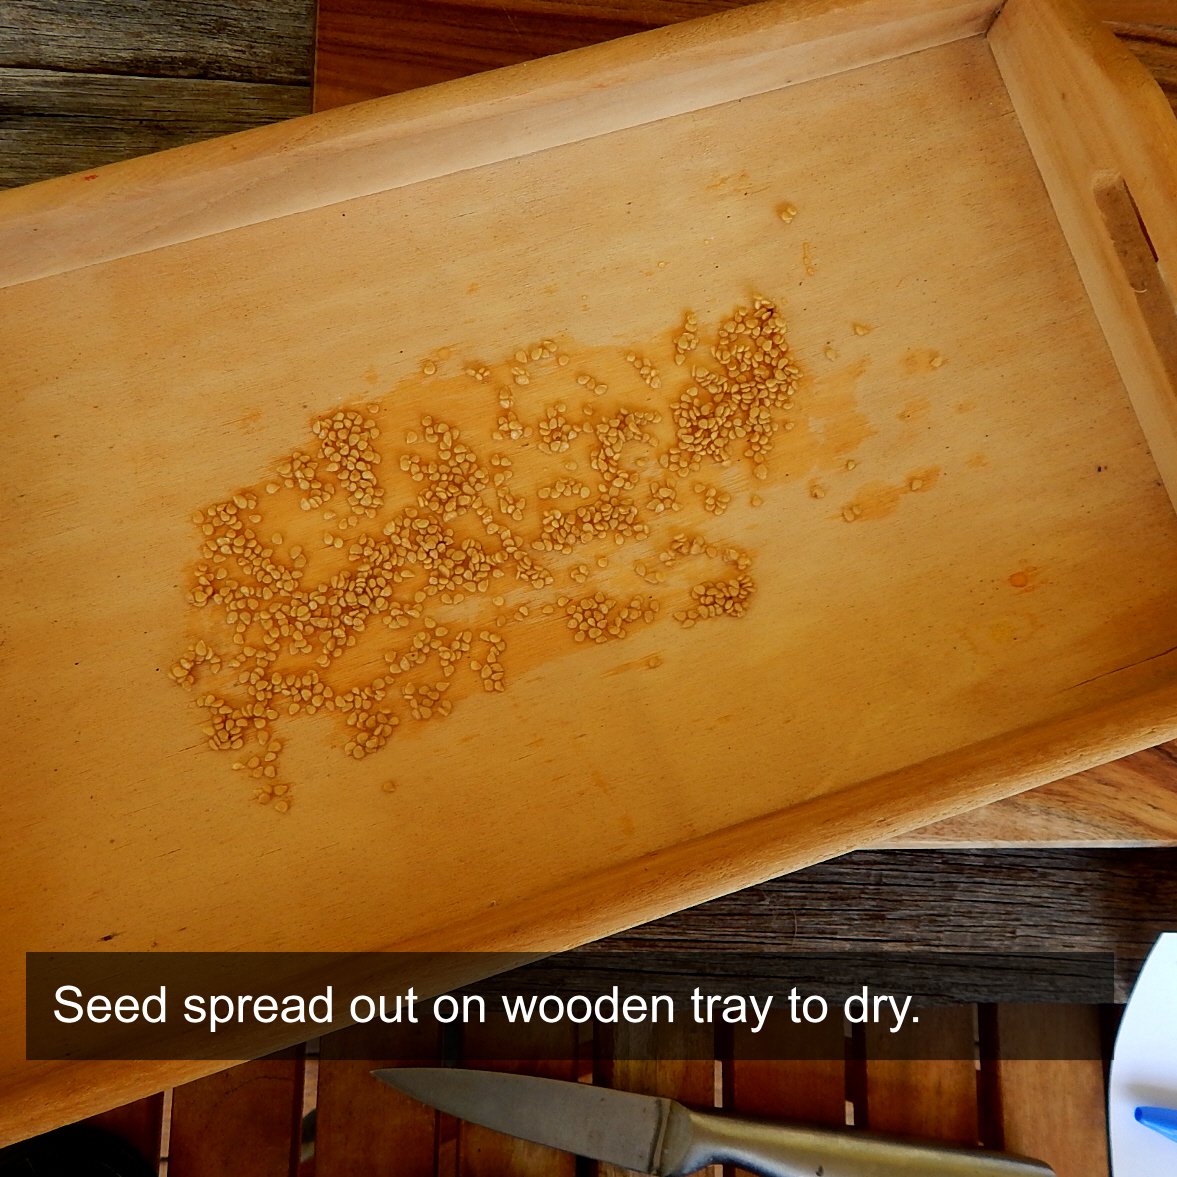
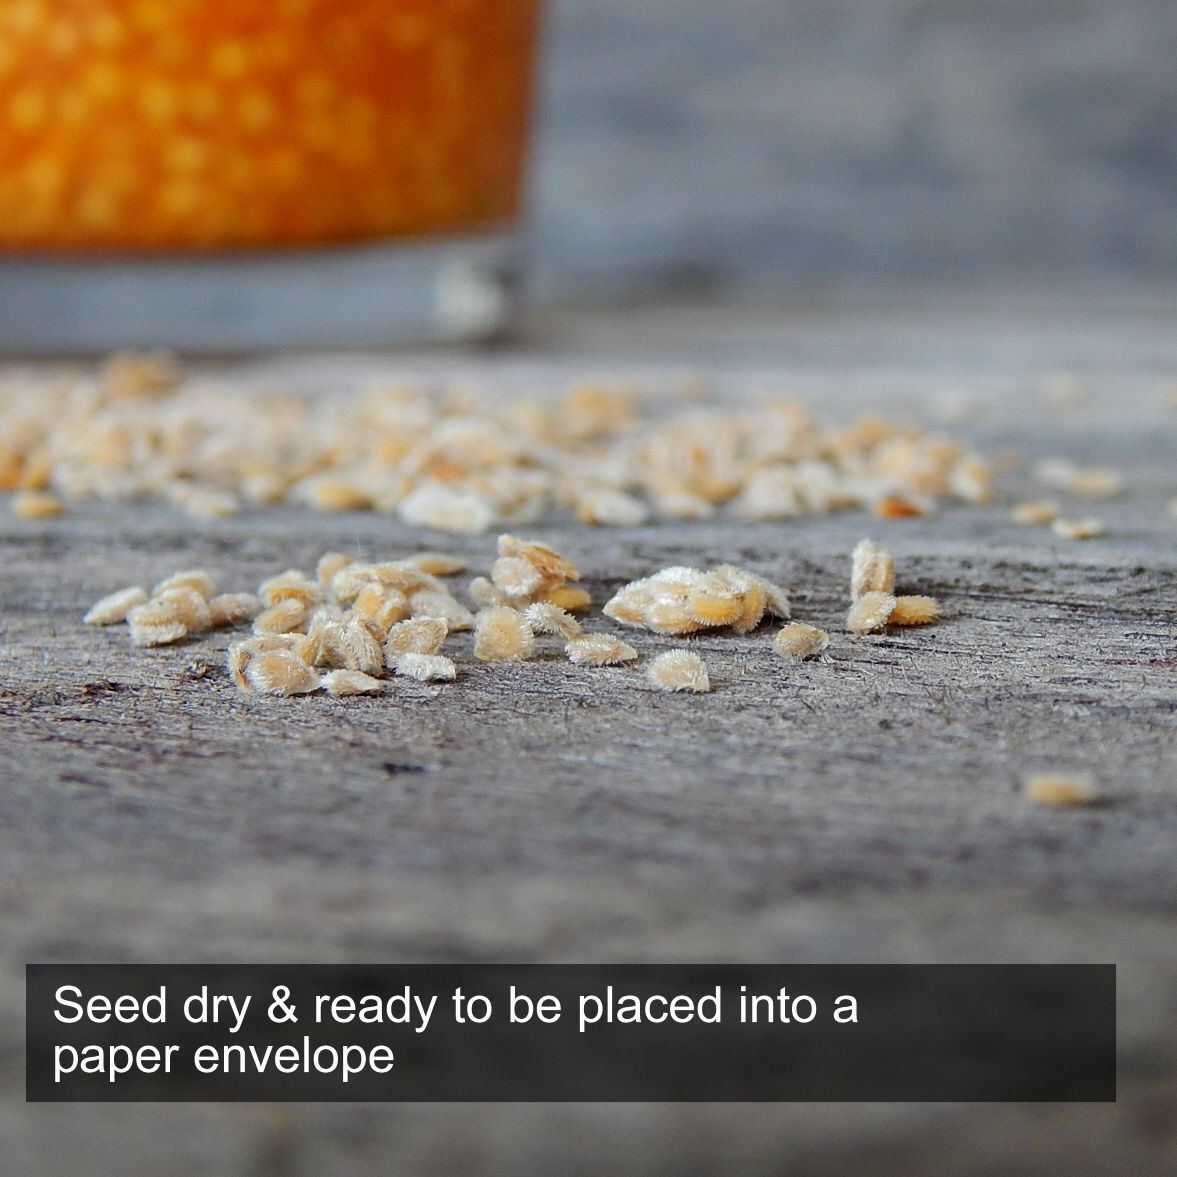
STEP 5: Allow to sit until completely dry.
Seed is left until completely dry. Each day the seed may be broken up using hands to allow even drying & to separate the seed. Once completely dry the seed is placed into a paper or glassine envelope & then into a sealed container such as a glass jar. Store in a cool, dry place out of direct sunlight.
That's it - job done!
You may find the following tools useful.....

SEED STORAGE TIN (Large) - Heritage Green
Elegant, modern & useful hinged, enamel powder coated steel seed box with real leather handles to store seed packets safe and tidy. Great container f
$48.00

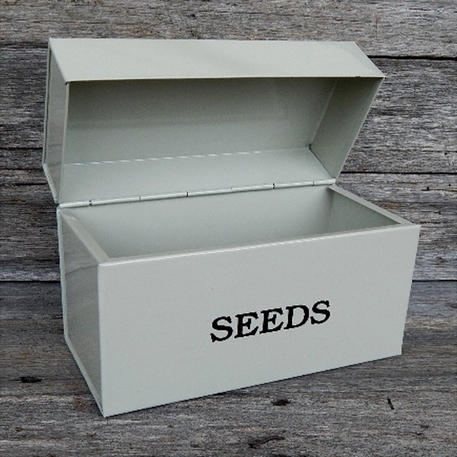
SEED STORAGE TIN (Large) - Mushroom
This beautifully-designed seed packet store is perfect for collecting, storing and organising your seed packets. This stora Height: 1 Width: 20
$48.00