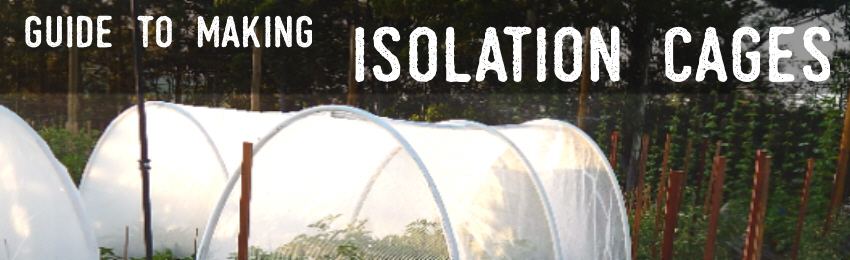
|
|
One of the most important things to keep in mind when saving seed is keeping that variety 'pure' or 'true-to-type' and preventing cross-pollination. Sure there are some vegetables where this is quite easy such as endive, lettuce, peas, beans, okra, and most tomatoes etc which self-pollinate ie. they pollinate themselves within a closed flower so there is no exposure to outside influence (ie. bees and other pollinating insects).
But what if you want to save the seed from other varieties which rely on or are exposed to insects which carry pollen from other varieties? Many vegetable types fall into this category including all of the brassicas ie. cabbage, cauliflower, broccoli, kale, or pumpkins, cucumber, leek, onion, parsley, parsnip, radish, rocket, melons, spinach, spring onion and sunflower to name but a few.
Isolation of these varieties may be achieved through distance, time or containment through either bagging or caging.
It may sound complicated but the process is quite simple. Where bagging is not practical, we find the use of isolation cages highly effective........ and they are SO simple and cost effective to make. The added bonus is that these cages may also be used to protect growing vegetables from insect damage. So as well as using the cages for keeping varieties pure, we also use them in our heritage seed gardens to protect plants from insect damage (yes, I'm talking about cabbages, kale, broccoli etc.)
This method is exceptionally useful for isolating capsicum and chilli varieties as no introduced insect pollinators are needed as the plants are both self-pollinating as well as insect pollinated. However keep in mind that other varieties which require insects will need introduced pollinators (more on this another time!)
Let's get started........
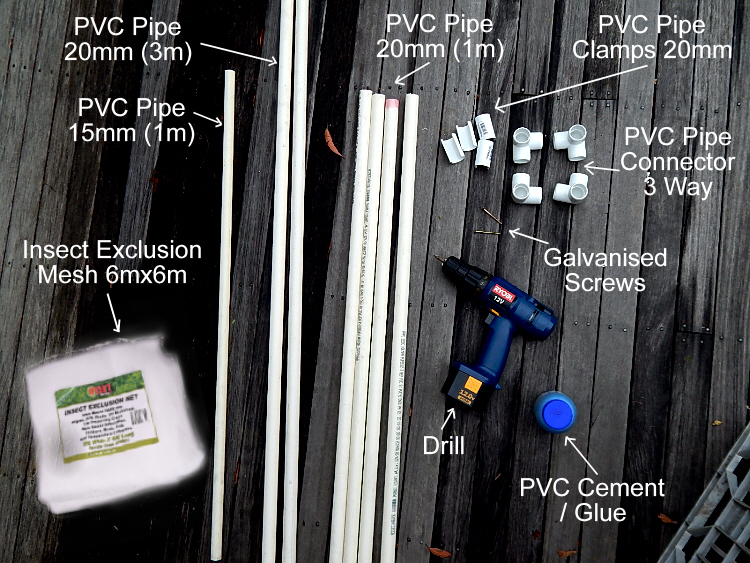
MATERIALS NEEDED (all available from Bunnings Warehouse except Insect Exclusion Mesh)
4 x PVC Pipe 20mm thickness, 1m length
2 x PVC Pipe 20mm thickness, 3m length
1 x PVC Pipe 15mm thickness, 1m length
4 x PVC Corner Connectors Three Way
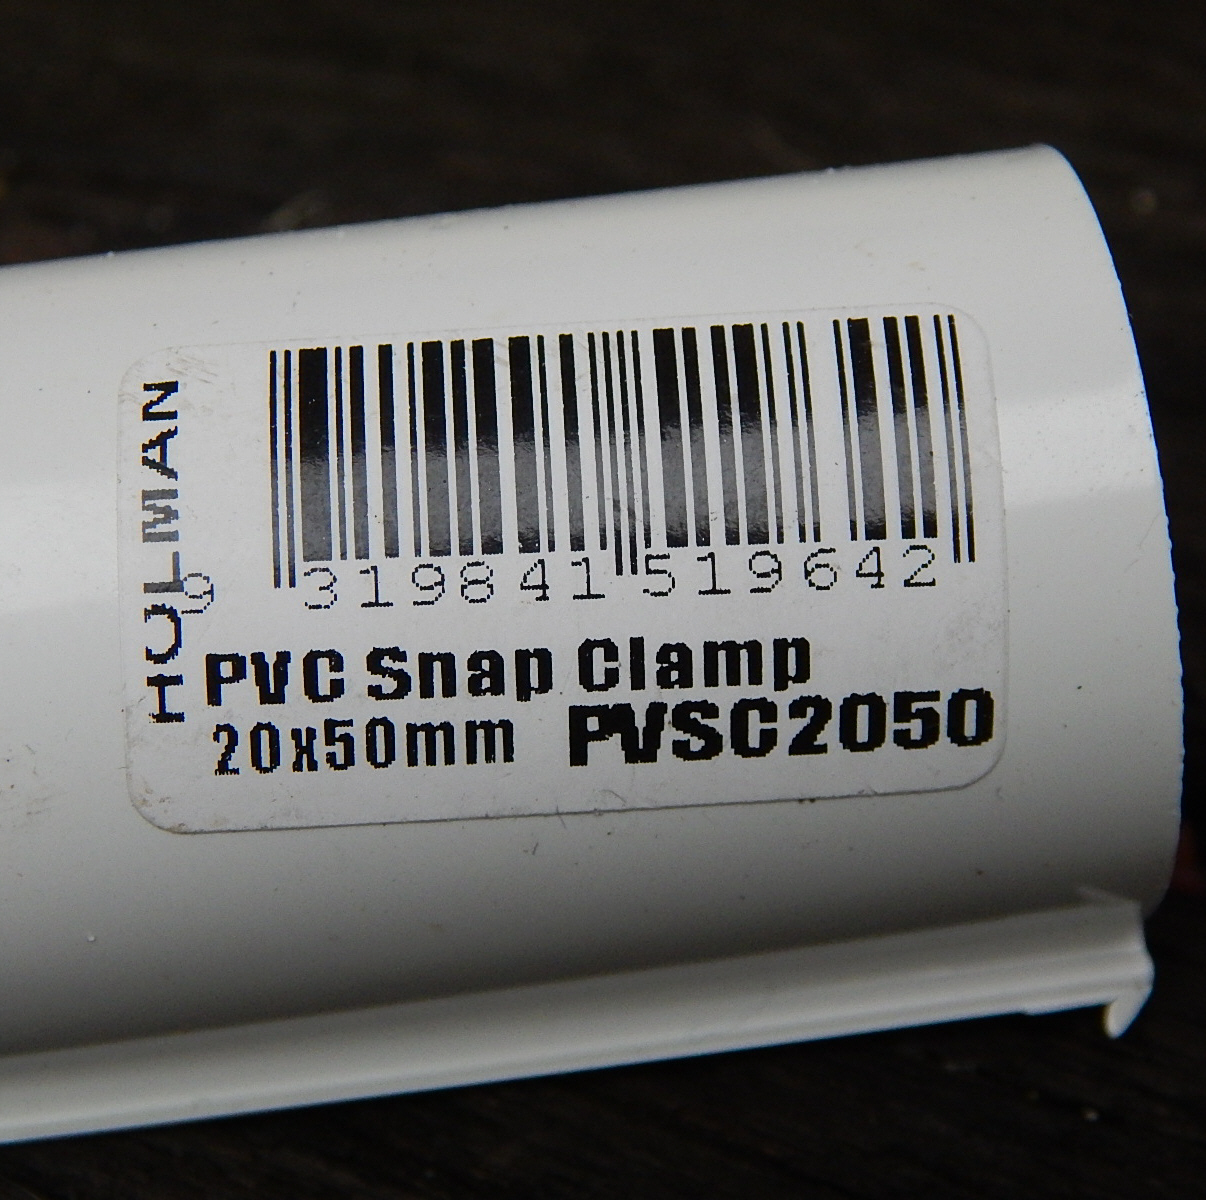
4 x PVC 20mm Pipe Clamps
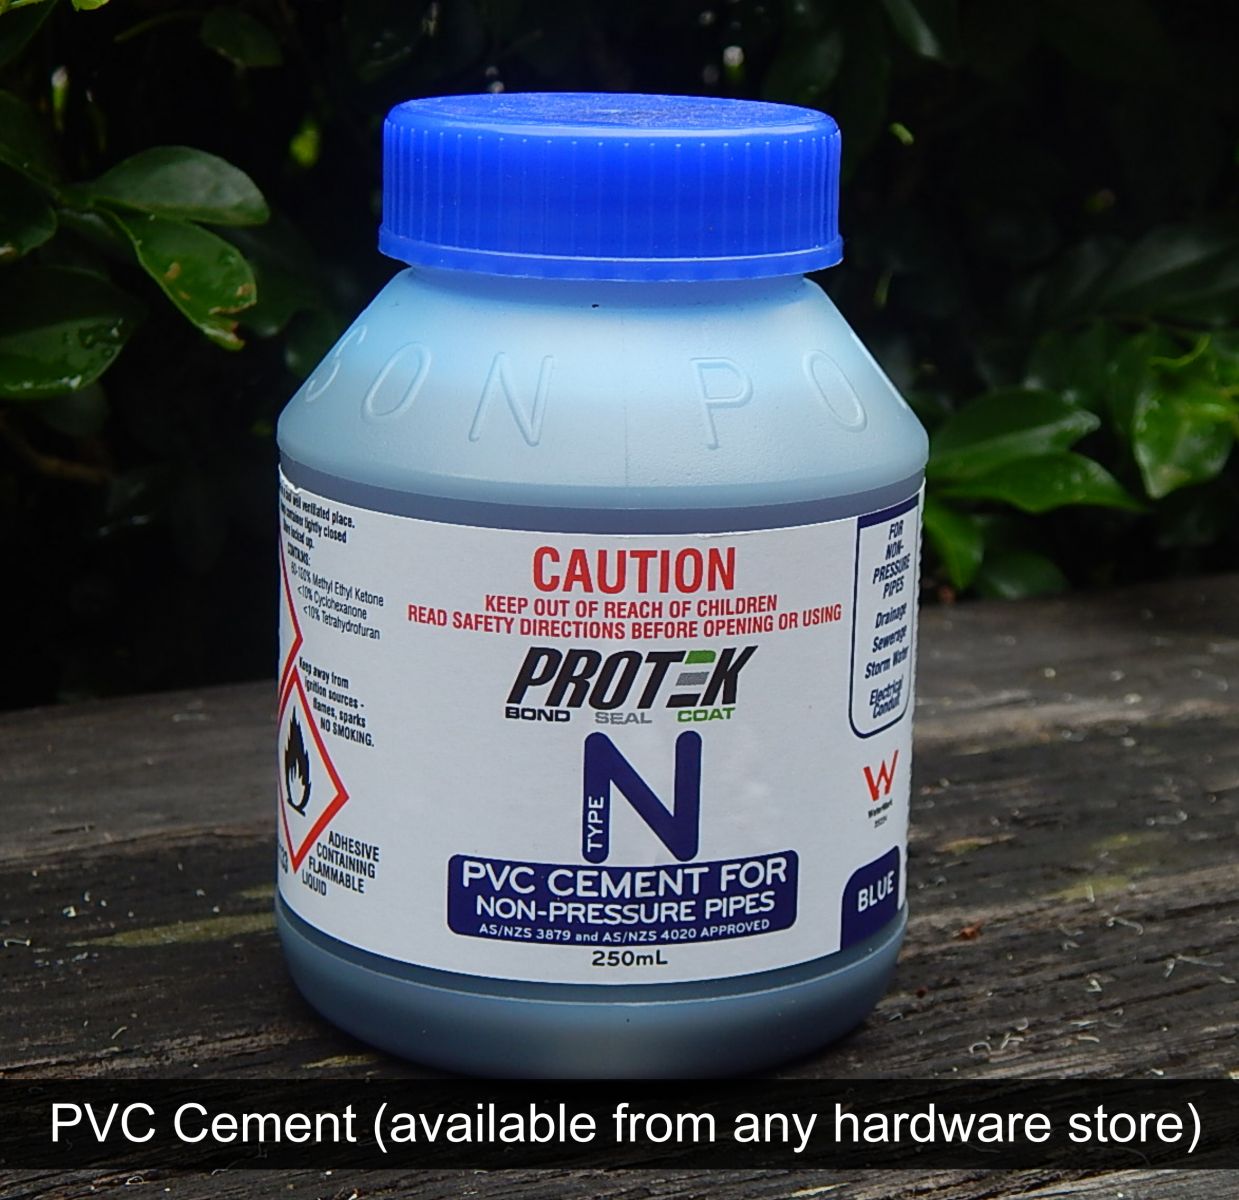
1 x PVC Cement / Glue
2 x Galvanised screws
1 x Insect Exclusion Mesh
2 x Heavy Duty Tent Pegs
OTHER ITEMS
Drill
STEP-BY-STEP METHOD
STEP ONE: Arrange materials
Lay out all materials needed in the one spot. Check that you have all items. If you are making a number of cages it may be best to purchase a number of the 3m PVC Pipe 20mm and simply cut them down to 1m length (works out cheaper!)
It is best to work on a flat surface.

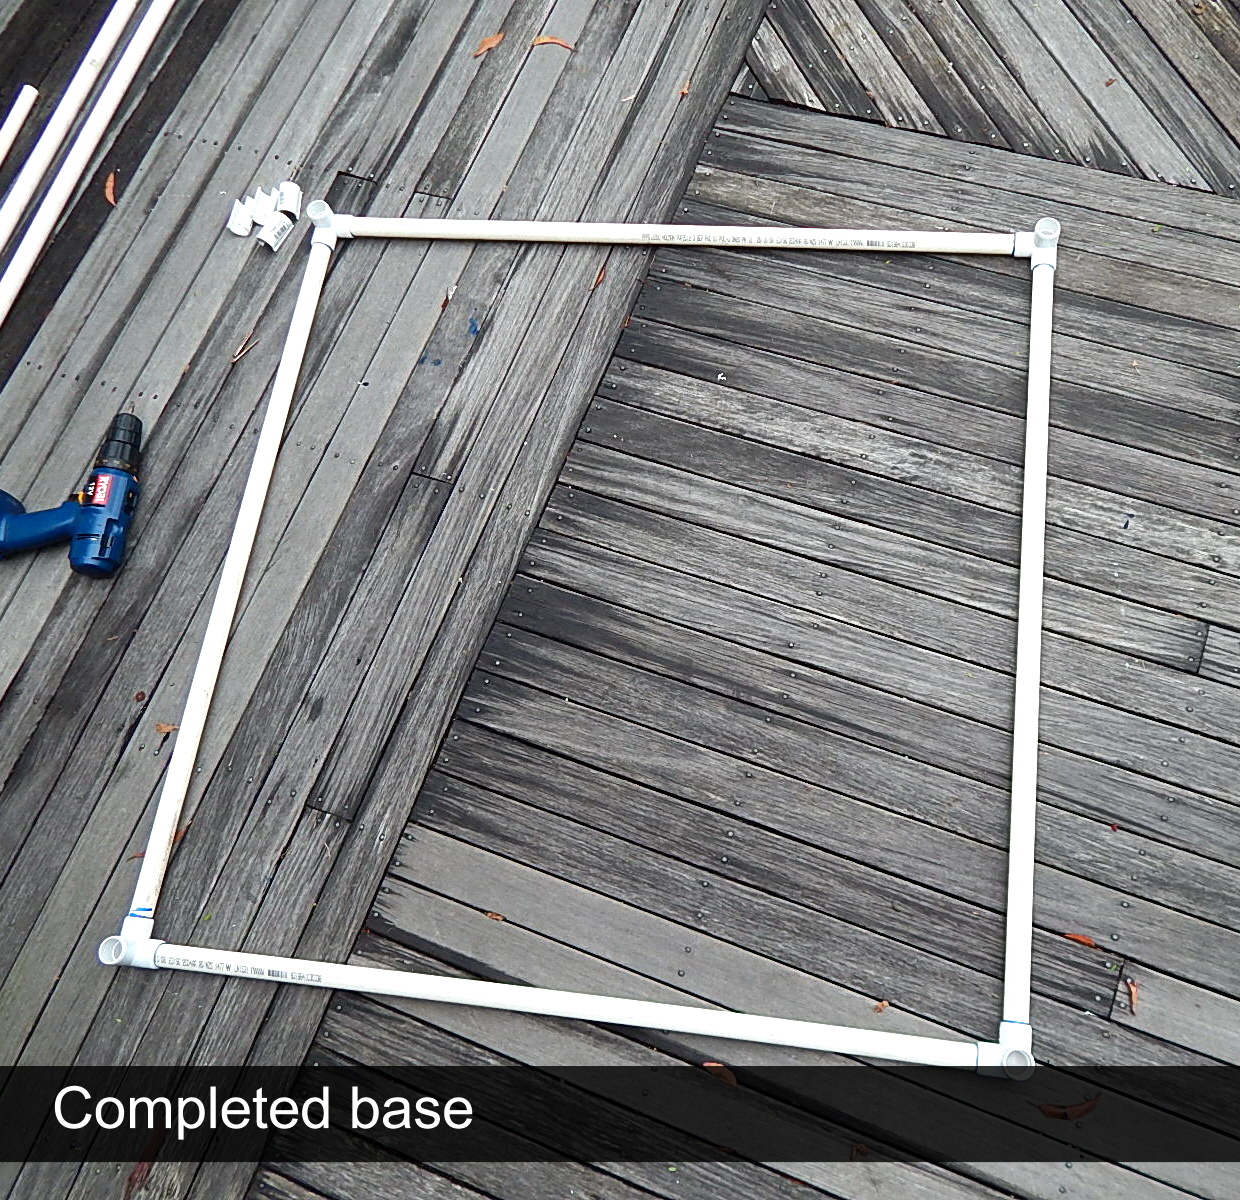
STEP TWO: Form base of isolation cage
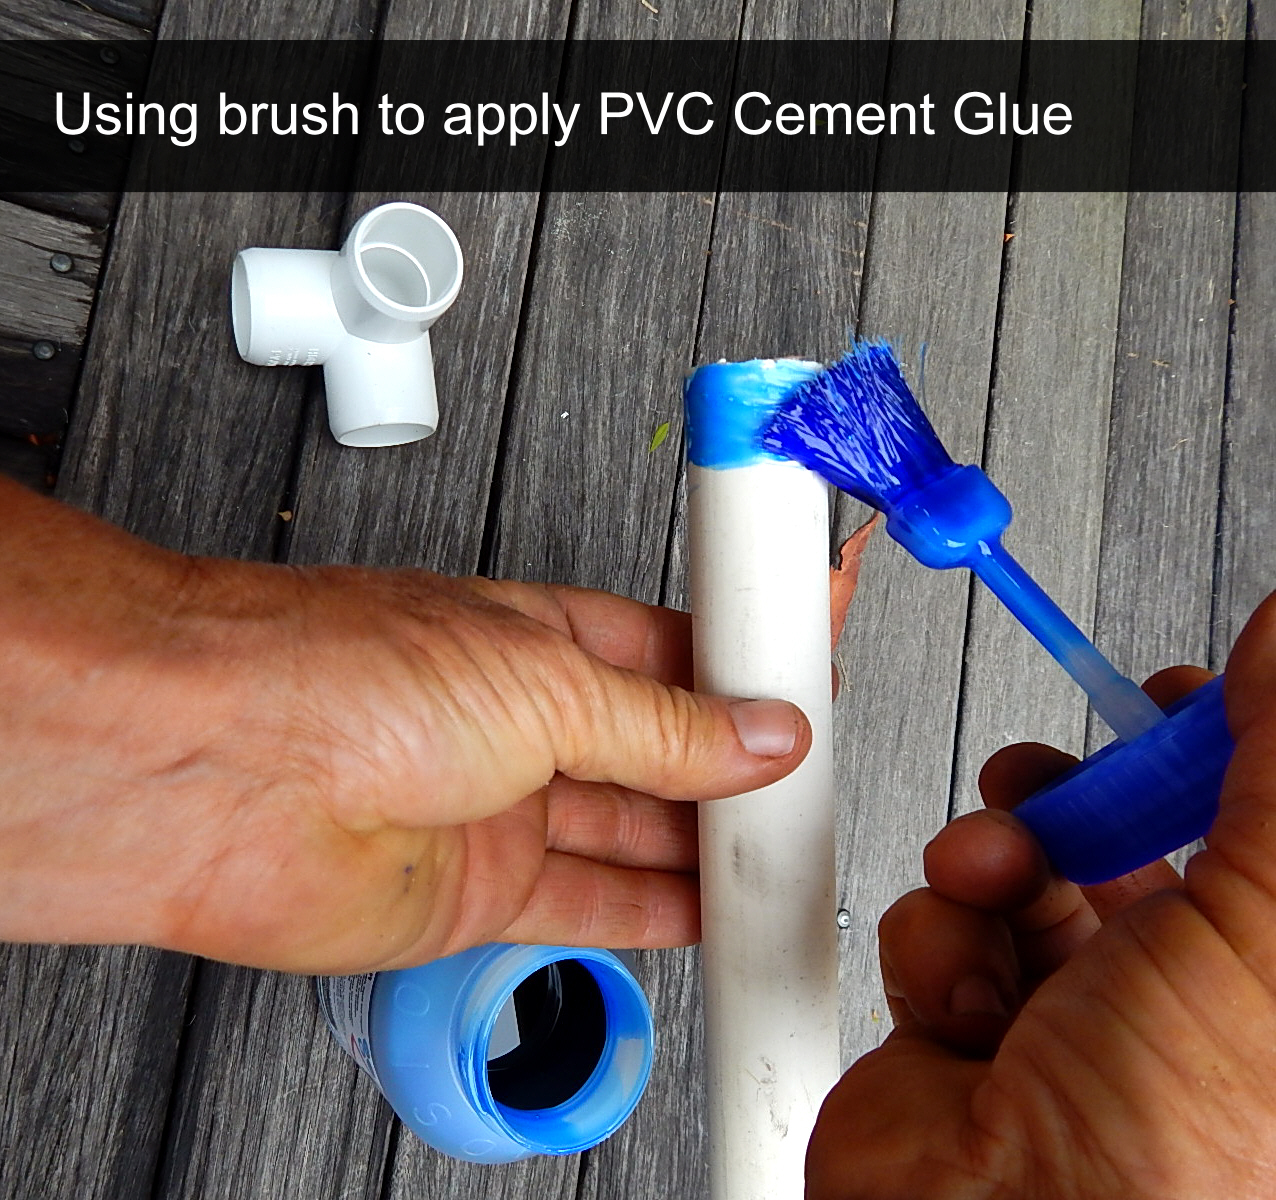
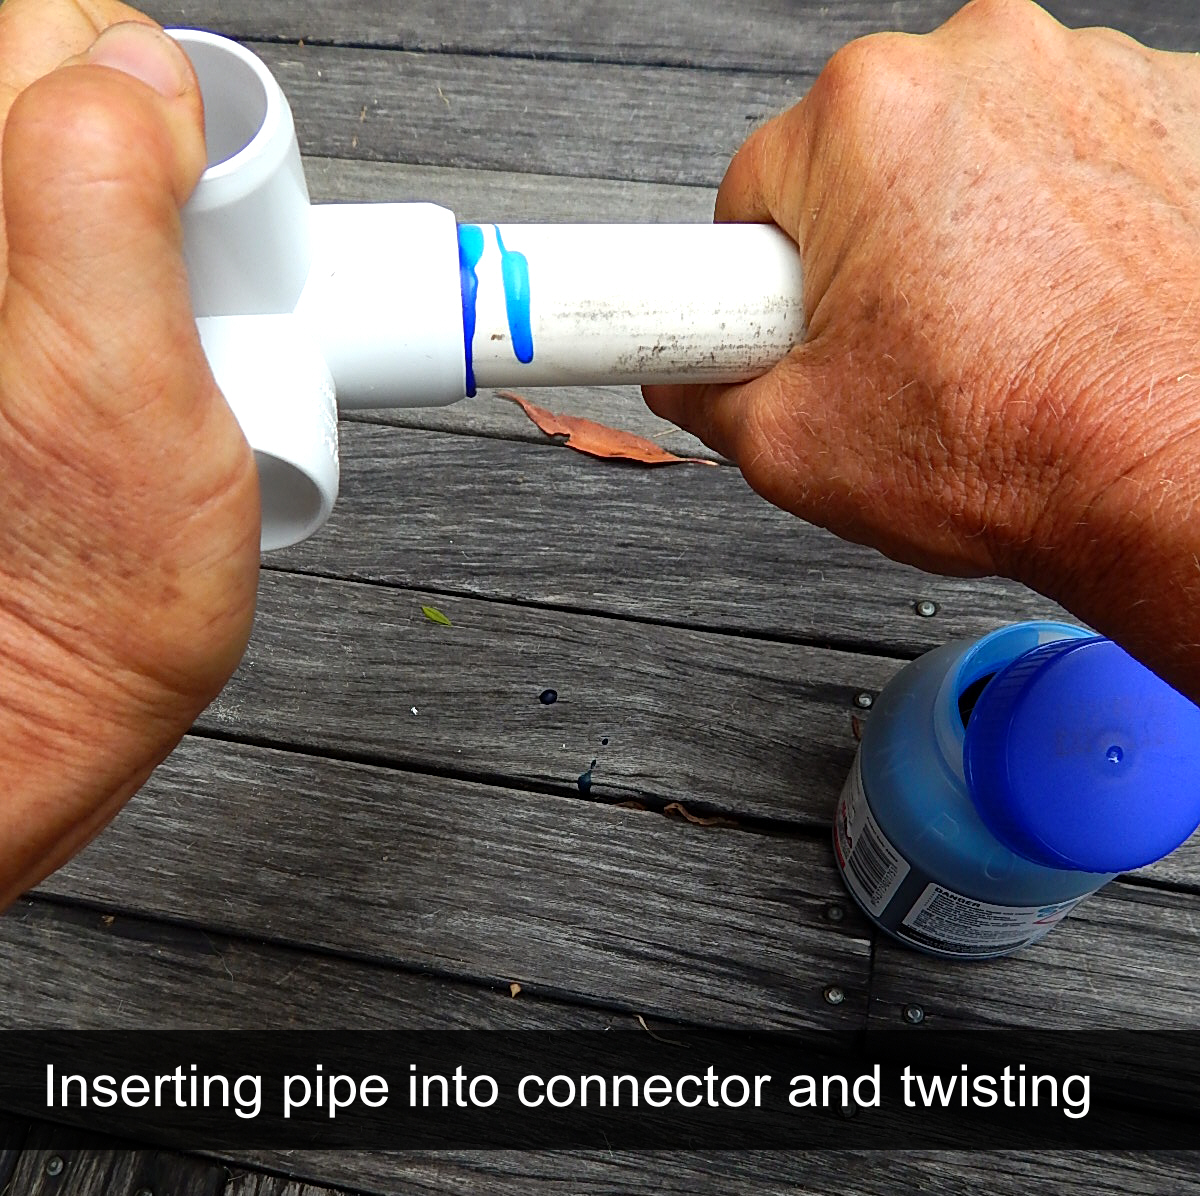
Using the PVC Cement attach the 3-Way corner connectors to the 1m lenghts of 20mm pipe to form as square.
You will need to work fast as the cement glue dries very quickly - it will harden in approx. 5-10 seconds. Also it is best to do this on a flat surface so that you can accurately line up the corner connectors. Use the brush (which is inside the PVC Cement bottle) to apply the glue to the very end of the the pipe. Quickly place the pipe into the connector and give a slight twist. This ensures an even distribution of the cement glue. As you go be sure to place the connectors flat on the floor. You should now have the base finished.
Note: Do not be tempted to build the frame without using the cement glue - this is absolutely necessary to prevent the frame from falling apart!
STEP THREE: Add cover pipes
Apply PVC Cement to each of the remaining 3m pipes and quickly insert each end into one side of the frame. Grabbing hold of the top end of the pipe at the very end, bend over, paint with PVC Cement and quickly place into the corner connection on the opposite side. Repeat with the other 3m long pipe. Remember to work quickly as the cement hardens and 'sets' very quickly - within 5 to 10 seconds!
.jpg)
.jpg)
.jpg)
STEP FOUR: Add top support
This step is essential if you wish to keep the supporting arches evenly spaced and prevent them from caving in on the ends. Take the remaining piece of 15mm PVC Pipe (1m) and using the drill, place screws partway into each end of the pipe. Turn the frame upside down (leaning against a post or similar) and screw the support across the centre of the two supporting arches.
Make sure that the screw doesn't go through and out the other side as this may catch and rip the netting cover when placed over the top. Turn cage right way up.
.jpg)
.jpg)
.jpg)
STEP FIVE: Set up isolation cage in garden
Place cage frame over vegetables. Secure in place either side using two heavy duty tent pegs.
Unfold netting and place centrally over frame. Secure on each side using the 20mm pipe clamps. Trim mesh if needed.
Note: Clamps are easily removed to lift the mesh when weeding and harvesting.
Straw or mulch may also be placed around the outside at the bottom to tidy up and neaten the edges.
.jpg)
.jpg)
.jpg)
.jpg)
All done! :0)
And if you're feeling really creative, you can come up with different designs to suit your needs ie. extra height, extra length.........etc.
.jpg)
.jpg)